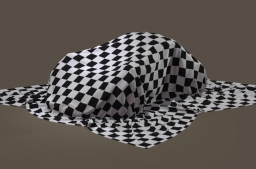
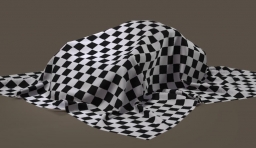
The 1 cm offset represents quite a thick kind of cloth, while the folds and crumbles on the ground are quite fine. Actually, I like a bolder impression of the material. Actually, Poser default cloth represents fine silk, which is known for high air damping (it gently floats down) and for low resistance values (silk folds very well). So, for my bolder impression, I increase the resistances and reduce the air damping, and I take serious steps doing so to get the noticeable results.
| Default | My settings | |
| Fold Resistance | 5 | 50 or 500 |
| Shear / Stretch Resistance | 50 | 250 |
| Stretch Damping | 0.01 | 0.1 |
| Air damping | 0.02 | 0.002 |
The first thing I notice is that the entire cloth folds onto the ground at about frame 20, much earlier as in the first run. This is due to the reduced air damping: the cloth floats less and falls faster.
Second, the “look and feel” of the cloth is mainly determined by the Fold Resistance parameter. Here you can see it raised from 5 to 50 (left) and then to 500 (right). The latter is the real heavy stuff.
Now, select the cloth as well as the latest frame in the simulation range
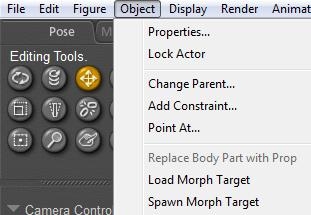
Click menu Object > Spawn Morph Target (give the result a decent name, like “Cloth over Car”)
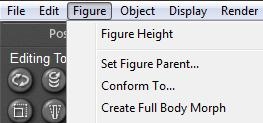
Followed by menu Figure > Create Full Body Morph (you can use “Cloth over Car” again)
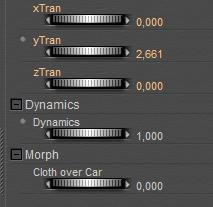
The first step defines the shape of the cloth as a morph target, the second creates a Morph Dial in the cloth properties (Pose Room):
To see the effect of this, [Clear Simulation] in Cloth Room, go back to simulation / time frame 1, change to Pose Room and change the Morph dial from 0 (flat cloth floating above the car) to 1 (cloth neatly folded as resulted from the simulation). We’ve frozen the sim results. Save your file.
