Nodes are the essential building blocks in the Advanced interface to the Poser Material Room. They are the graphical representation of mathematical function calls, that is: calculation procedures which turn parameters (inputs) to a result (output).
Intermediate
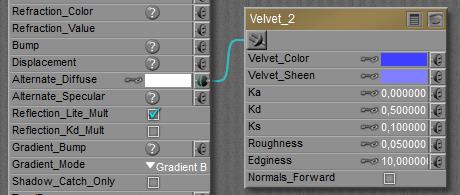
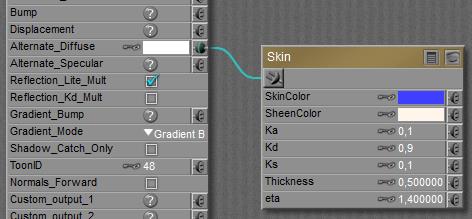
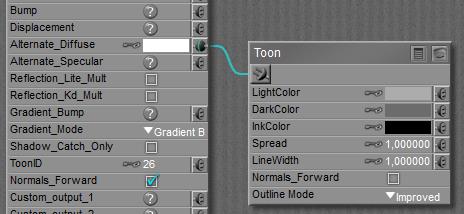
Like all special nodes, the Scatter node also provides diffuse, specular and eventually more as an all-in-one offer. Just black-out (or nullify) the regular Diffuse, Specular and other properties of the PoserSurface, and plug the node into Alternate Diffuse. This Scatter node does not use the subsurface scattering as referred to in the Render Options. It’s offered from Poser 8 / Pro 2012 on.
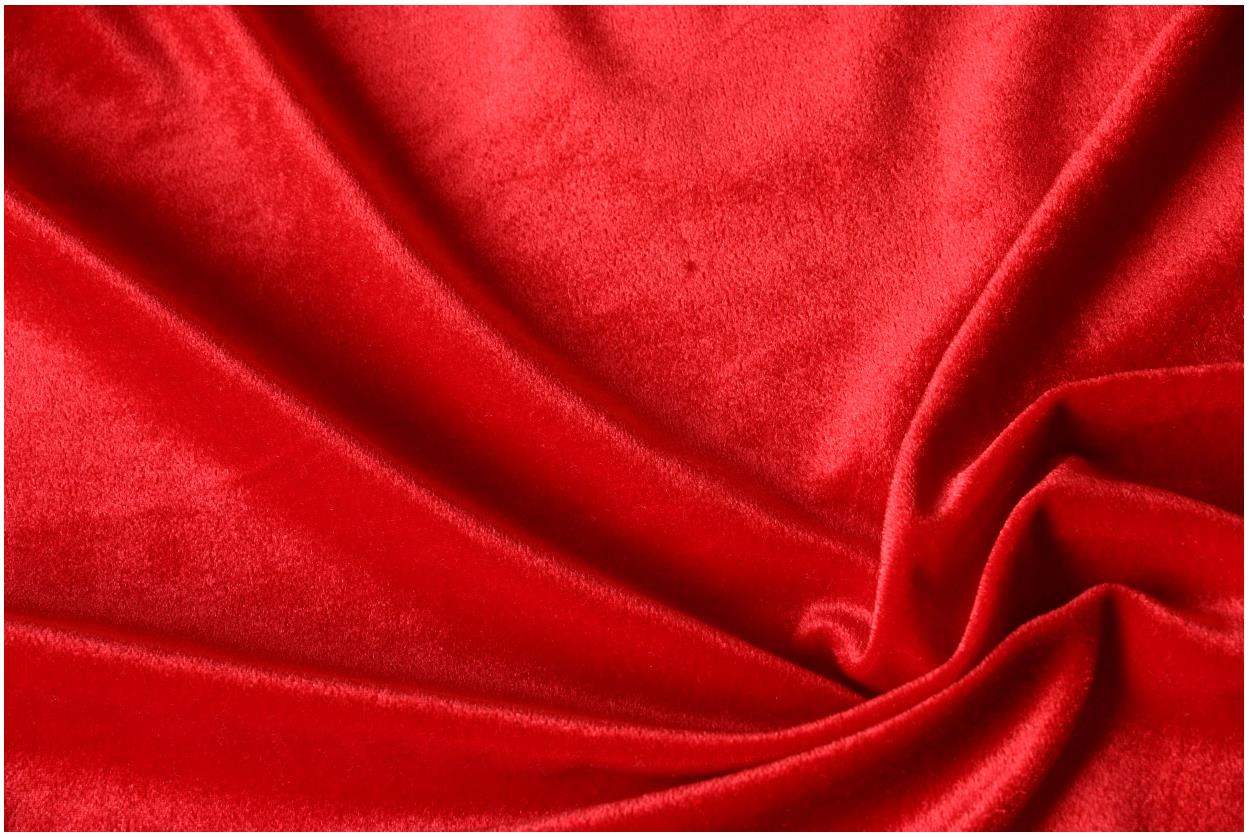
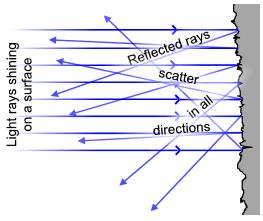
The node represents the scattering of light within the outer layer of a real-life material. It takes the thickness, the internal structure as well as the natural color of the material into account, like ketchup is darker red, apple is pale green and skin is pinkish.
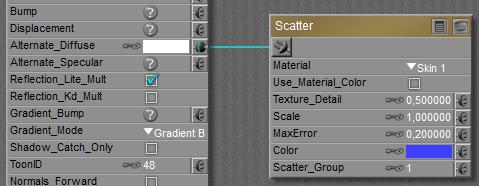
The internal structure of the scattering layer can be altered by picking a different Material from the list. The thickness of the layer can be altered by changing the Scale parameter, so when Apple (waterish in a cellular structure) is the substance of choice, but the surface layer of my stuff is twice as thick as a real-life apple (or the object is an apple, but at twice the regular size) then Scale should be set to 2.
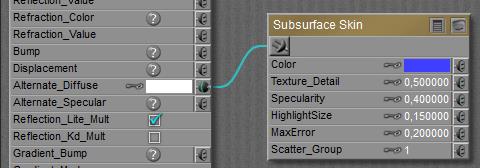
MaxError is a speed vs quality setting, large values (up till 1.0) give high speed and lower quality, low settings give higher quality (more scatter bounces within the layer, I guess), at the cost of longer render times.
As in the regular (diffuse) case, the object surface can be tinted with color, image map, another texture node, and etcetera. This surface color is multiplied (filtered) by the color of the scattering. If I don’t want this latter effect, switch OFF the Use_Material_Color option. I might want the structure of Ketchup, the layer thickness of Ketchup but not the reddening from Ketchup.
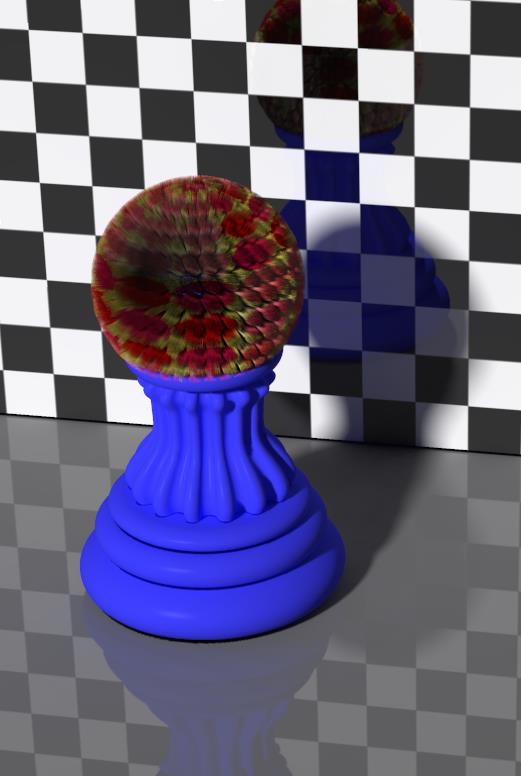
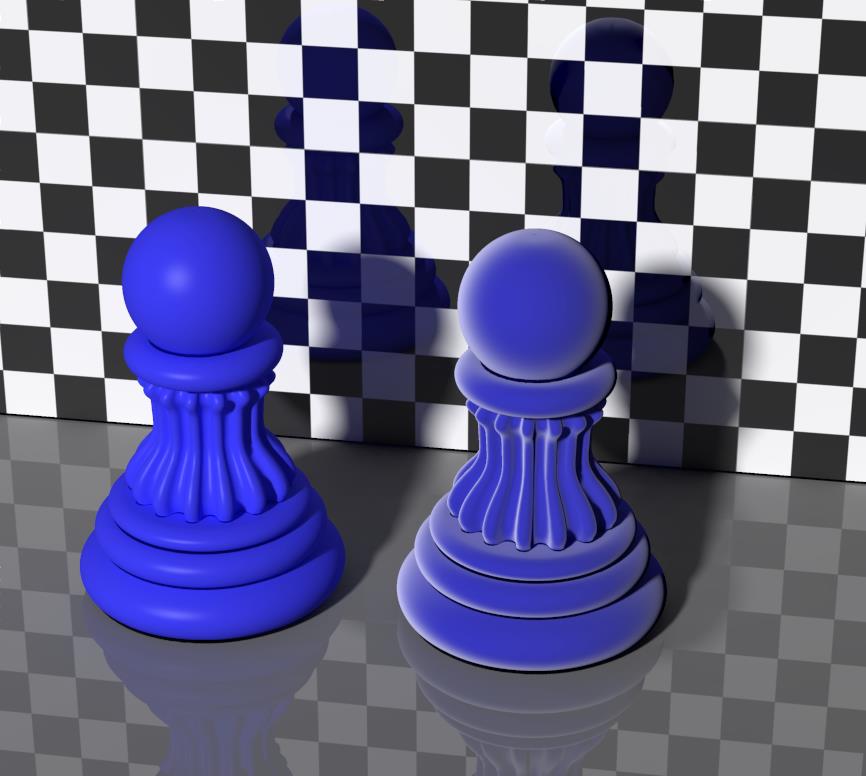
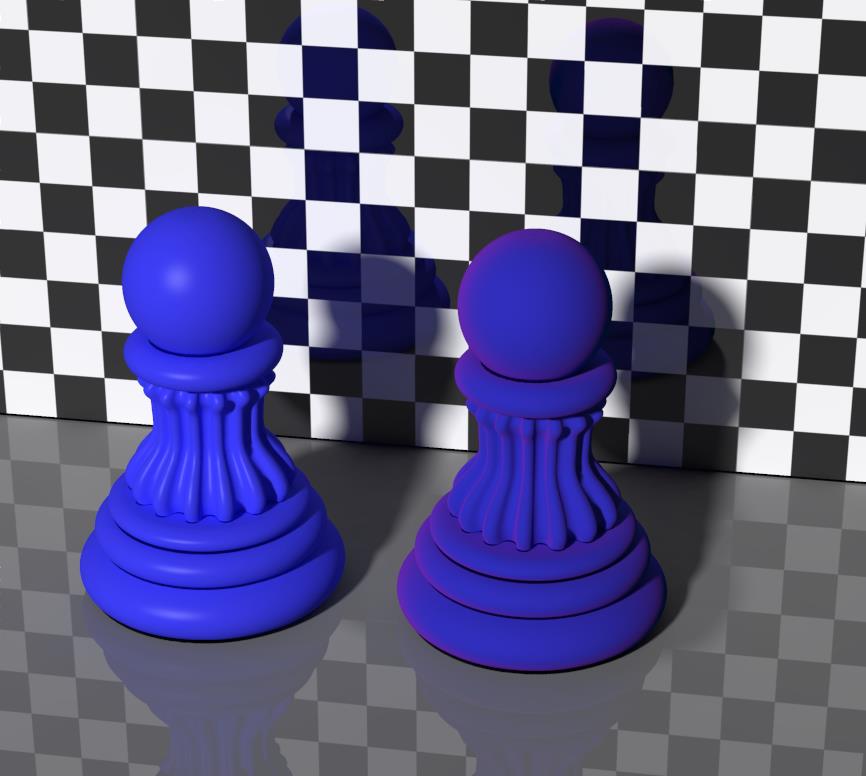
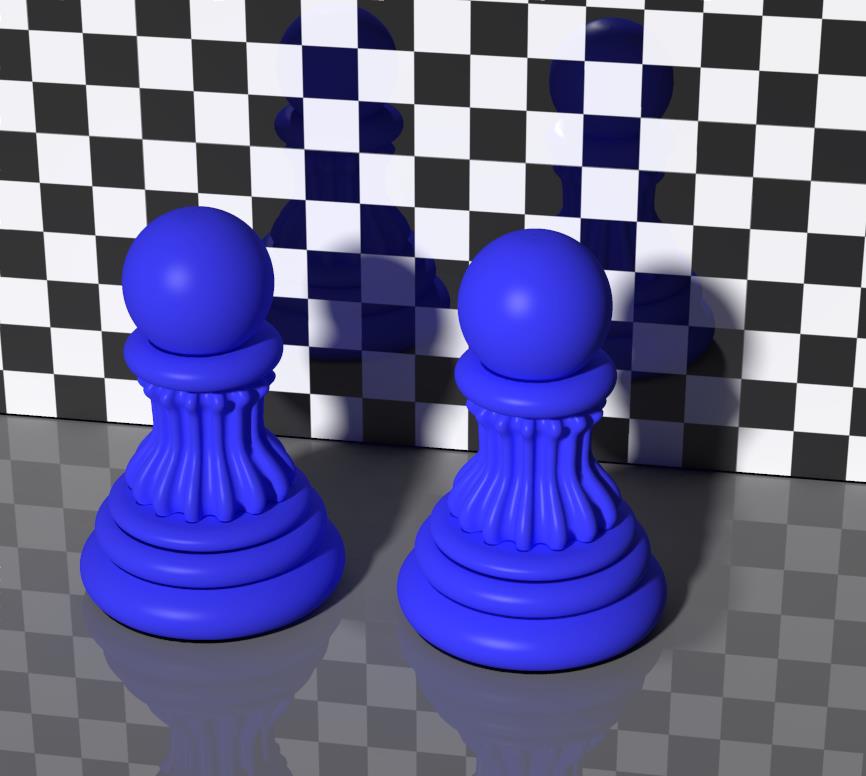
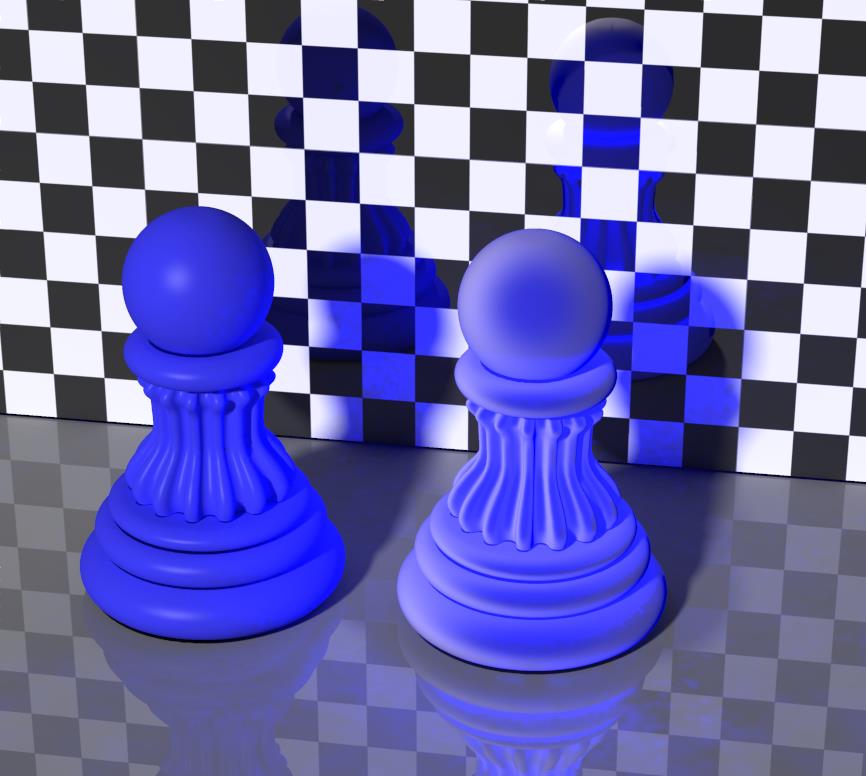
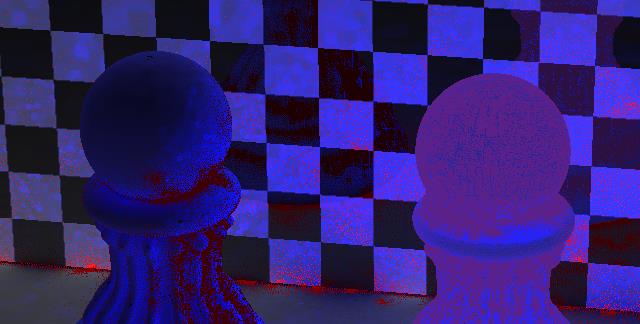
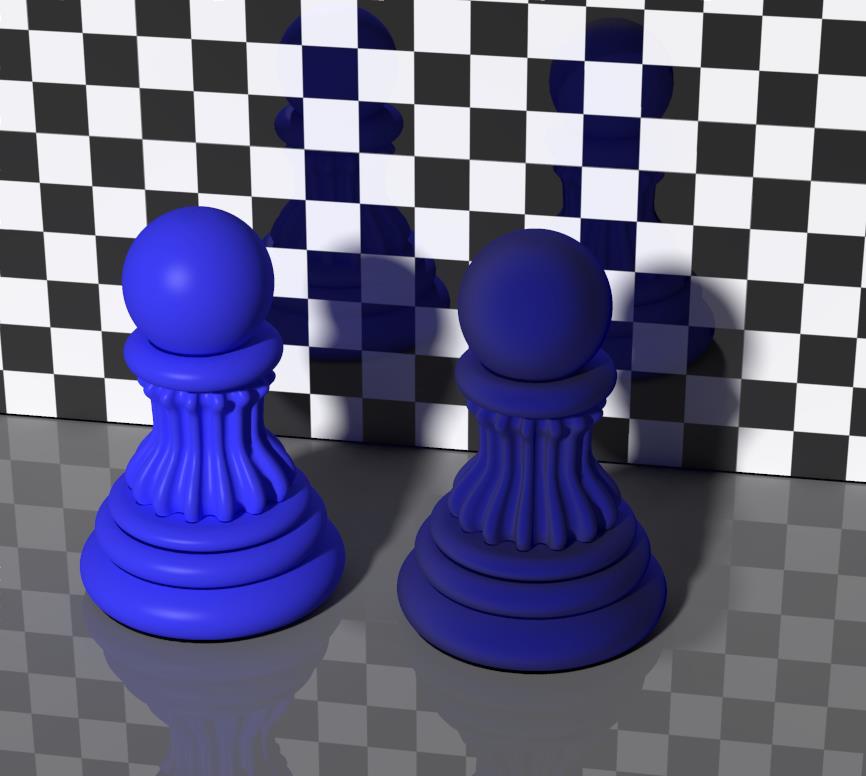
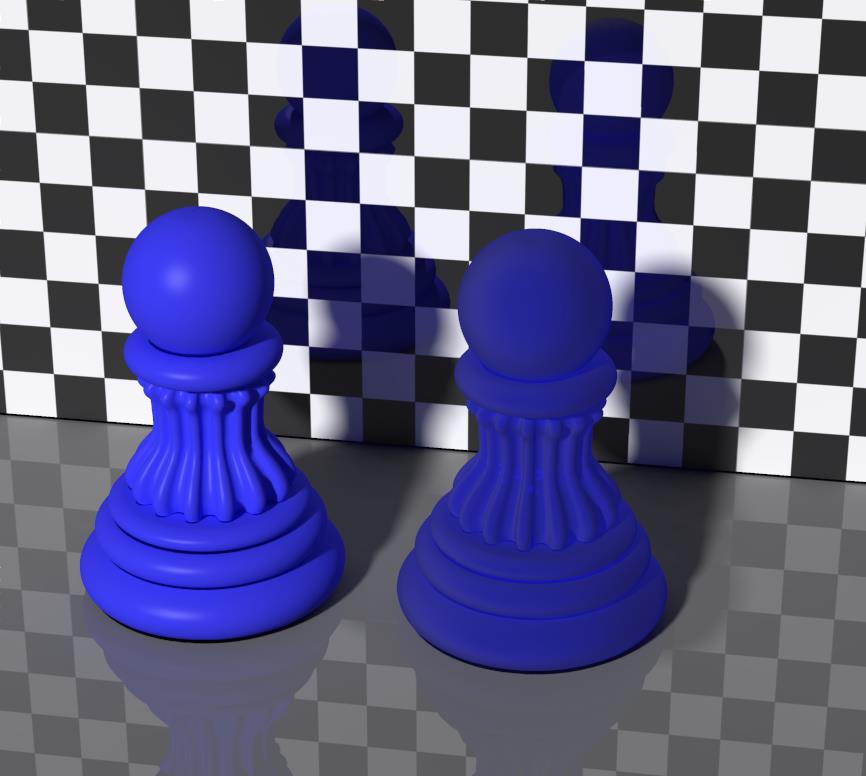
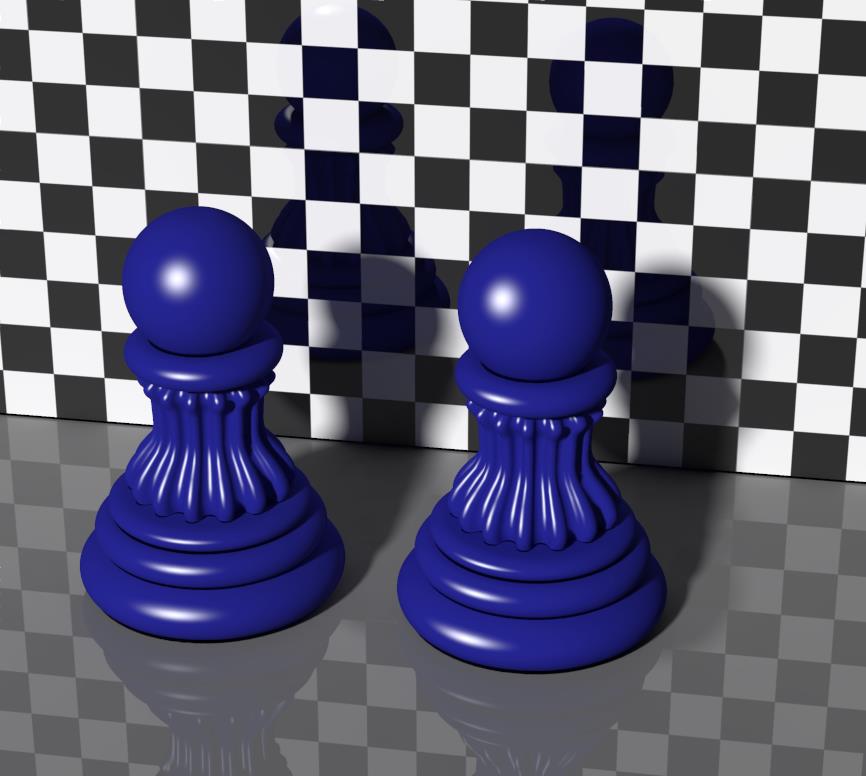
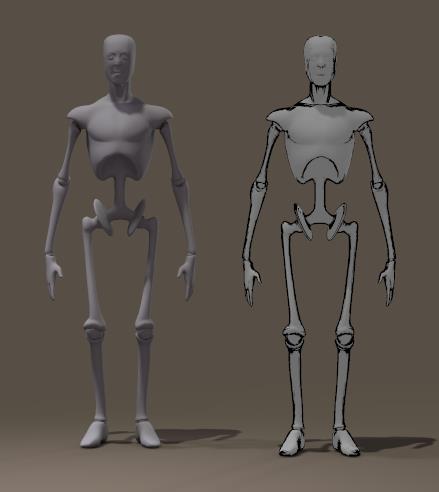
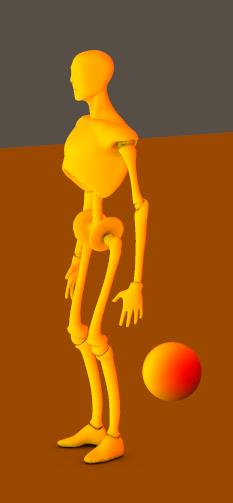
In the example below the right pawn has the Scatter surface, with the Use_Material_Color option OFF except for the base where the pinkish skin color is merged into the main color.

The second issue is: do I want the surface texture on top / at the outside of the object, or at the inner part of the skin layer. In the first (outside) case, details will be crisp but are not scattered themselves, in the second (inside) case the details are scattered as well, but the texture is blurred because of that. This is handled by the Texture_Detail option: 1.0 means “outside” (all details available), 0.0 means “inside” and the default setting is halfway 0.5.
When the surface texture already offers an object color (as is usual the case), and I want to make use of the scatter color as well to improve skin tones etc., then some portion of the skincolor should be removed from the surface texture to avoid “double counting” of the coloring. The Poser Manual, chapter Material Room Nodes, sector Scatter tells in detail how to accomplish this.
This article presents a comparison of the various skin and scattering nodes.
 Some notes.
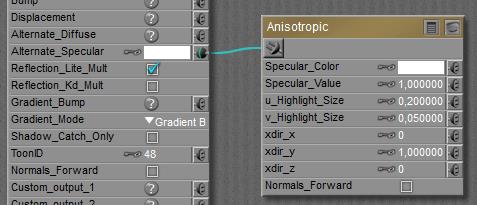
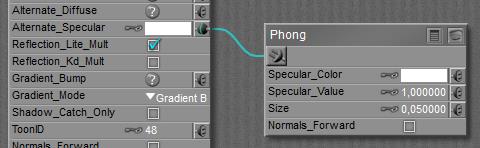
 All nodes in the Specular group respond to specular light, which refers to specular light from direct (point- spot- infinite) sources only. The
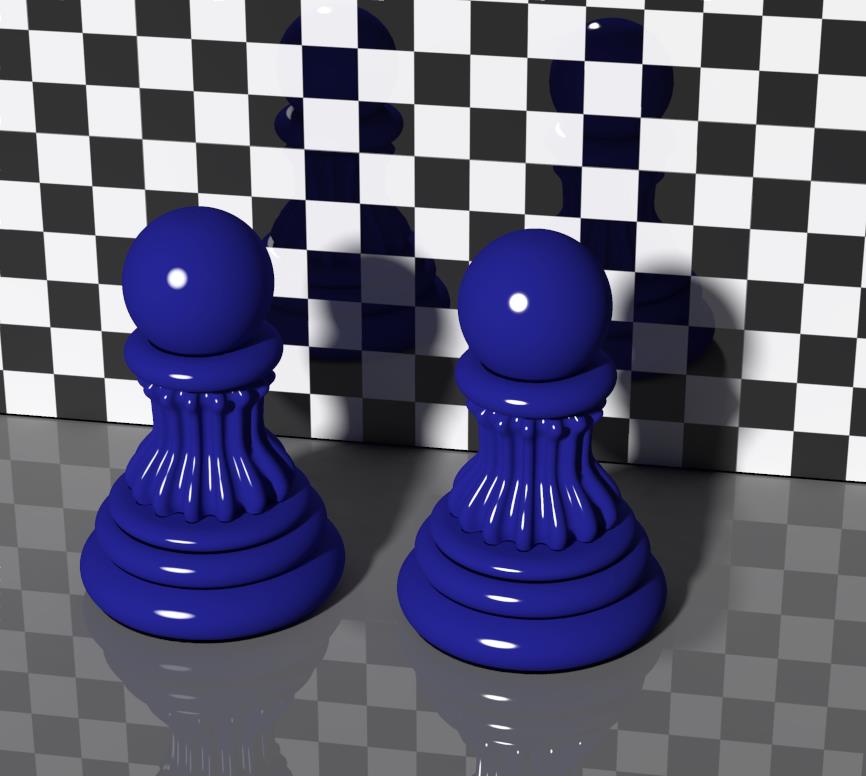
 relates to
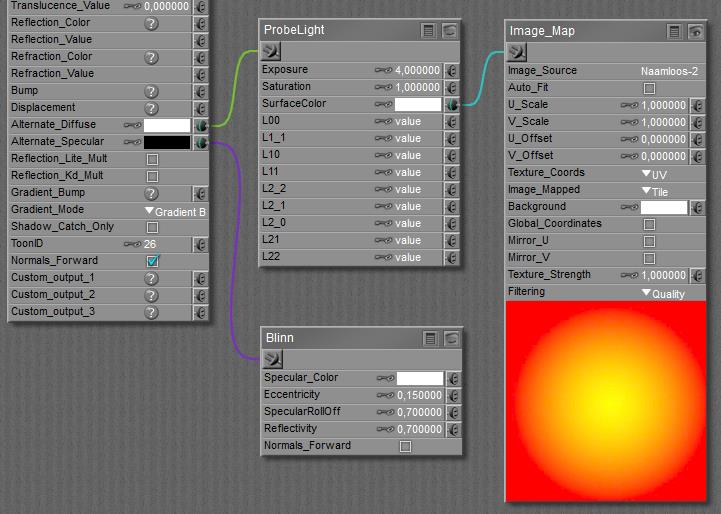
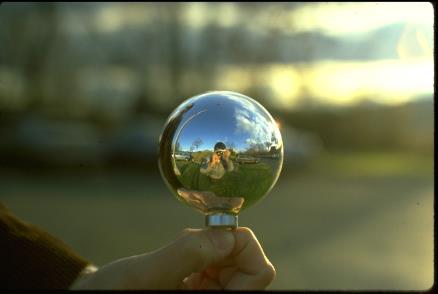
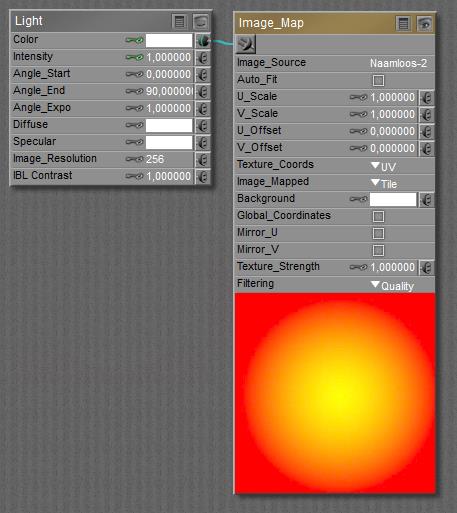
 I even can wrap the image around a point light, but do note that in such a case the light ray will be directed in a direction opposite to the IBL lighting. Someone might get disoriented then. So, for balls as well as point lights, I should take care of their orientation (that is, their yRotate transform value). Some need a 90° or 180° twist.