Nodes are the essential building blocks in the Advanced interface to the Poser Material Room. They are the graphical representation of mathematical function calls, that is: calculation procedures which turn parameters (inputs) to a result (output).
Intermediate
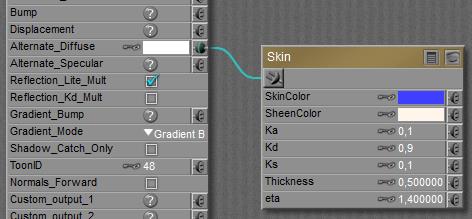
Skin is an “all in one” material node, which caters for diffuse, specular and ambient portions of the definition. So it responds to diffuse light (direct and indirect), specular light (direct only) and also generates some lighting of its own (glow). Just black-out (or nullify) the regular Diffuse, Specular and other properties of the PoserSurface, and plug the node into Alternate Diffuse.
The SkinColor is dominant when looking straight onto the surface, the SheenColor becomes dominant at skew angles towards the camera. The idea is that light is diffused from slightly below the surface. At skew angles that light travels a longer distance through the surface layer, and picks up more color from within that layer. SkinColor therefor represents the color at the outer side, SheenColor represents the colorization within the surface layer by the scattering. The specular and ambient colors of the material are derived from them.
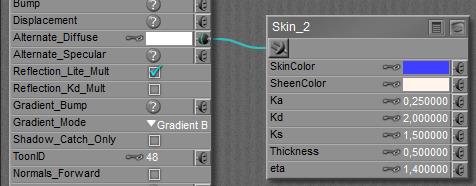
Kd is jargon for Diffuse value, Ks for specular value and Ka for ambient value.
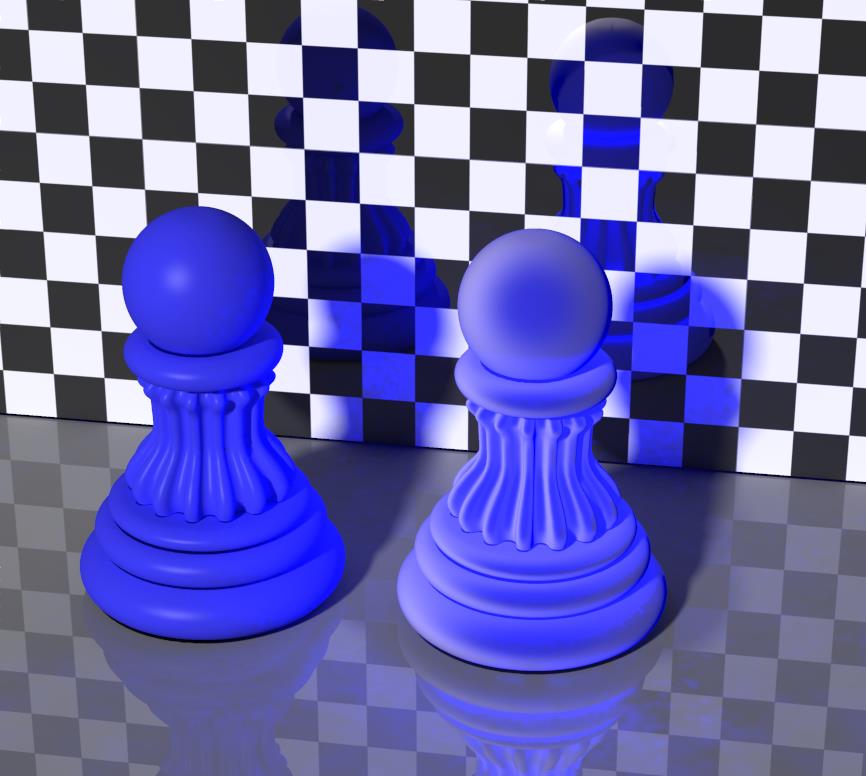
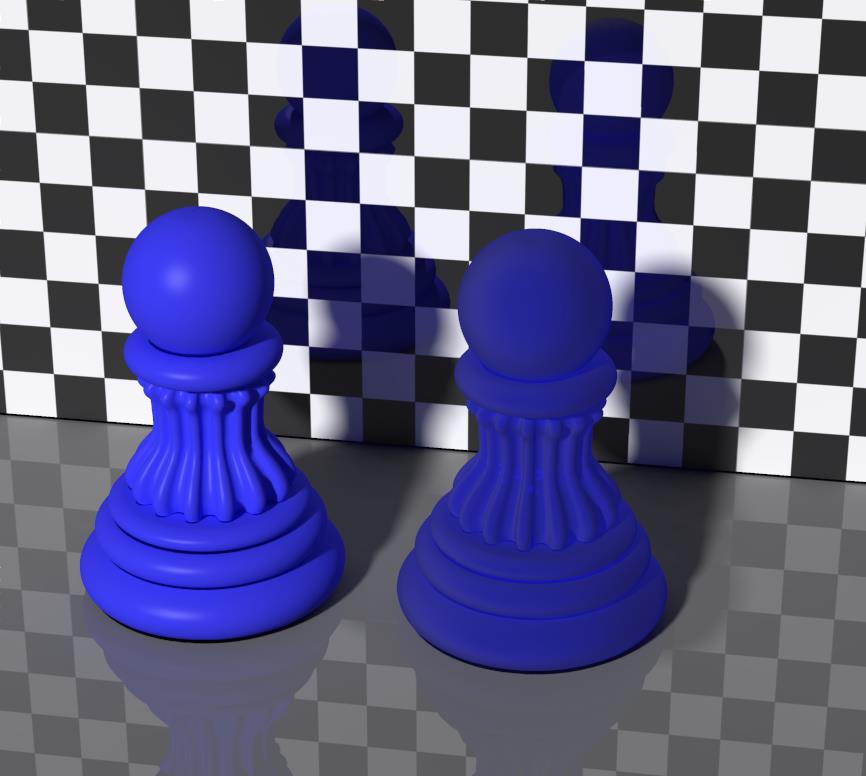
The left pawn shows a regular diffuse and specular use, the right one shows skin at default settings (except for the color adjustment to blue).
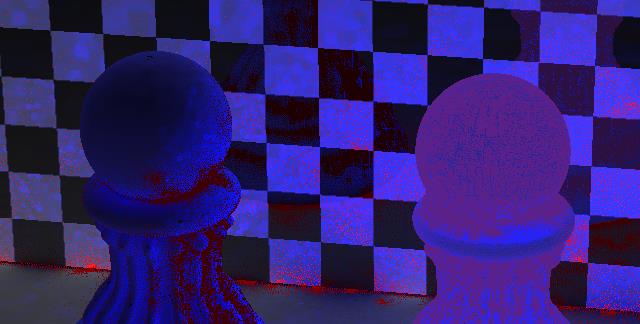
Note: with this node, precalculating Indirect Light takes quite some time, and the surface gets an enormous amount of ‘red dots’. RAM usage goes up accordingly (over 2Gb for a single pawn at 85% irradiance cache), so this node certainly is a ‘render killer’ and should be used on high performance machines (and patient users) only.
Left pawn using regular diffuse and specular, right pawn using skin node at default values.
As the left pawn had Diffuse value 0.9, Specular Value 0.1 (and 0.0 ambient), let’s use those values instead of the default ones.
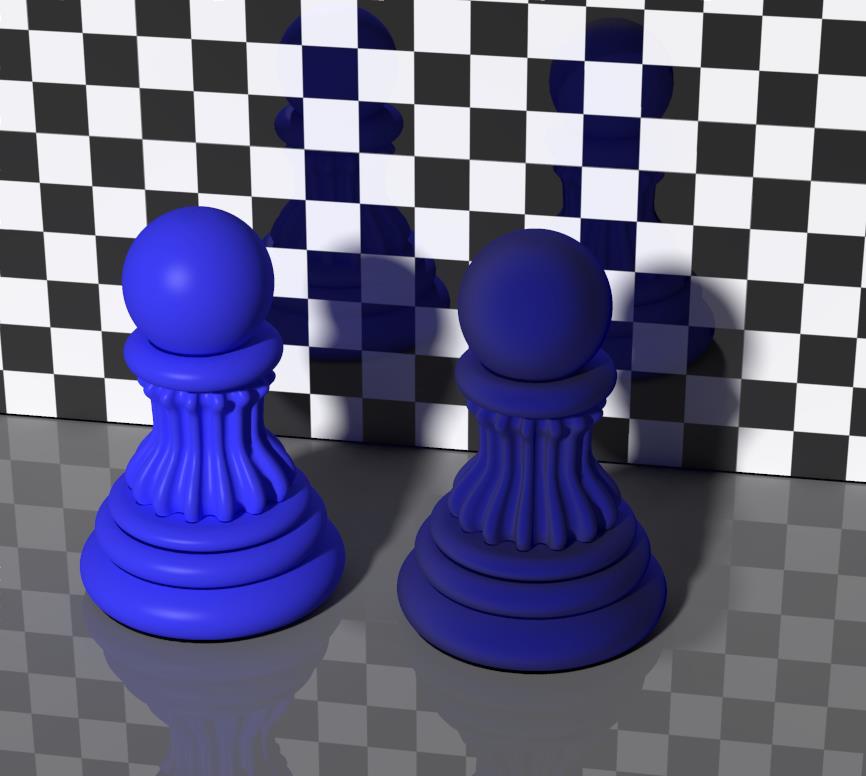
In the first place, the lower values for ambient and diffuse produce less Indirect Light, and renders much faster than the default settings. Second, the result looks like velvet, without any noticeable highlights. So, the Kd and Ks do behave different from their Diffuse Value and Specular Value equivalents. This effectively means that I’m on my own finding the right mix of settings.
Let’s set ambient to 0.1, just to add a bit.
Now the result looks like glowing velvet:
This article presents a comparison of the various skin and scattering nodes.