Separating the darks
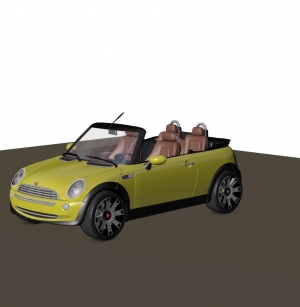
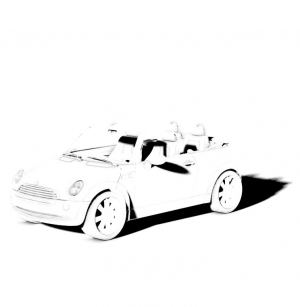
In this first elementary step I’ll present some basics: just dealing with the shadows in the image. To do so, I need one render result without shadows, and one with shadows only. This can be done in the Render Settings, the Manual department.
First: I uncheck the Cast Shadows option, render, and export the result.
Second: I check both the Cast Shadows as well as the Shadows Only options, render and export the result.
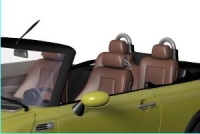
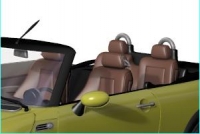
This gives me two images:
| Without shadows | Shadows only |
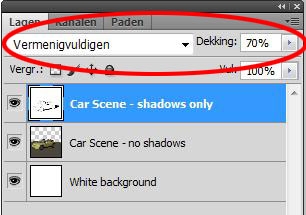
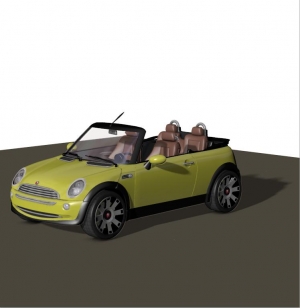
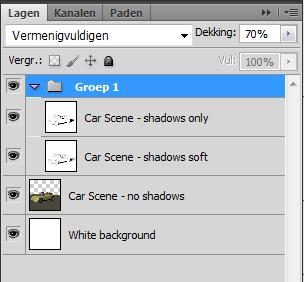
Now I’ve got to combine those two in Photoshop. Actually the color pass is the base layer, but since I exported it with a transparent background (PNG, or in Poser Pro: EXR) I’ll added an extra white layer underneath. On top of that I add the shadow layer, and I set the Blend mode to Multiply (“Vermenigvuldigen”, in my Dutch version). Right now, I can adjust the shadow strength by reducing the opacity of this layer to 70%.
| => |
This gives me the same result as reducing the shadow-intensity of the light in Poser, but without the re-render.
In reality, all considerations that reduce the depth (darkness) of the shadows will also lead to blurred edges. Deep shadows have hard edges, while shallower shadowing comes with blurred edges. However, it’s a bad idea to use Photoshop blur un the Shadow-layer, because this 2D approach does not take the geometry of the scene into account.
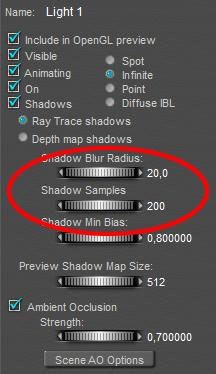
So I re-render the scene, for the shadow-pass only, with a very blurred shadow setting. Note that just tenfolding the blur radius (from default 2 to 20) might give very blodgy shadows, so I tenfold the Samples (from default 19 to 200) as well. Render and export as a new “soft shadows” image.
In the meantime, I’ve created a layer group for the shadow layers, put the already present Shadows only layer into it, and assigned the Multiply blending mode and the 70% opacity to the group while resetting the layer itself to Normal blending, and 100% opacity.
Now I can add the new Soft Shadows layer to the file (and to the shadows-group), Normal blending, 100% opacity too. Then I can start experimenting with the opacity of the top shadow layer. It’s a matter of taste whether to use the hard or the soft shadows layer on top. I prefer the hard ones, as using low opacity values for that layer gives me better control and nuances over the final result.
| 0% hard shadows | 50% hard shadows | 100% hard shadows |
As a result, I’ve got one slider (group opacity) to set the shadow intensity and one (top shadow layer opacity) to set the shadow edge blur. Completely interactive, without the need for a re-render. I can stop right here, or I can use this method to establish the best settings for my final render. For instance, I might conclude that I’ll have to set shadow intensity to 70%, and shadow blur halfway (say radius 10, samples 100) for my final Poser render.
Note: if you look at the car closely, you’ll notice that there is some shadowing under the tires as well which is not dealt with. This is the result of the Ambient Occlusion setting of the light, I’ll discuss it in the next chapter.

