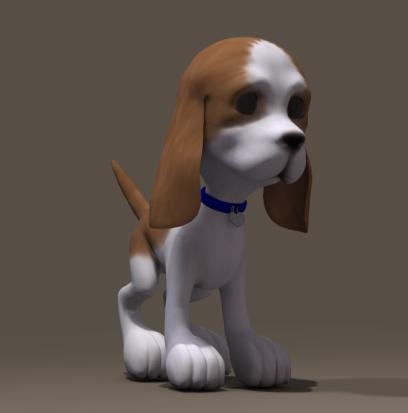
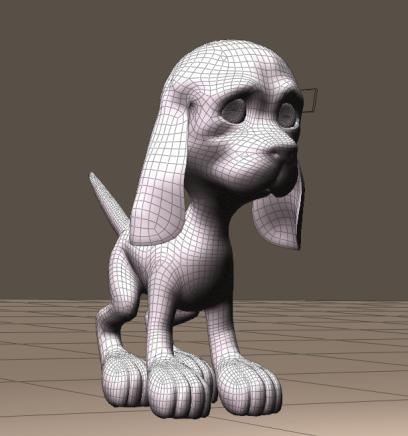
Next to clothing, animals are popular to assign fur too. To avoid debates on realism – which is mainly an issue of endless tuning of the grouping details, the hair parameters and the material properties – and since I’m a dog person, I’ll go for the Toon Puppy. For the cat persons amongst you, just take the Toon Kitten instead, or anything else.
The collar came as an additional prop, and I hide it for the moment.
- Make a lot of small hair growth groups with different length and pull settings, and apply minor adjustments to them later
- Make a few large growth groups without pull settings, and apply a lot of editing to the hairs themselves.
Making a choice upfront is relevant, because any attempt to alter a length or pull setting (Hair Room panel 2) erases all editing of hairs in that group. Since the Puppy is rather low poly and well curved, which implies: not that many guide hairs and a lot of detailed work required anyway, I take the second way. You might choose different for a highres Horse mesh.
Analysis
The puppy mesh offers the regular Head \ Neck \ Chest \ Abdomen \ Hip structure, and the four-part leg and arm structure. The fourth part is foot or hand, the puppy has no separate toes or fingers. The three-part ear-structure however is an addition to a normal (human) mesh, as is the ten-part tail. Especially this last element might do well with the straightforward Hair length and Pull settings, without additional editing.
Preparation
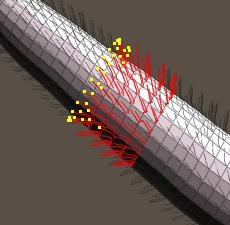
All this makes a 5+4*4+2*3+10=37 part animal, and each part gets its own hair growth group and hair material setting. Each hair growth group is a routine: select, [New Hair Group], [Edit Hair Group] using [Add All], [Grow Guide Hairs], set all values in panel 2 and 3, and [Grow Guide Hairs] again to make the preview properly show what I just did. Then next part.
The material is just a matter of setting up one correctly, and the copy / pasting as described in the Jacket chapter.
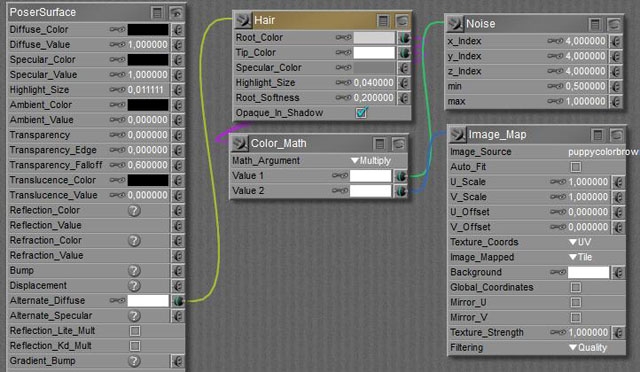
The skin image map is multiplied with the usual noise node, and fed into the Root color at a slightly darker tone than into the Tip color.
So after a tedious sequence of paste and [Remove Detached Nodes] in Material Room, I’ve got my Toon Puppy with guide hairs standing straight out on all places that should have hair. I excluded the bottom of feet and hand, excluded the nose on the head, and ensured that the inner parts of the ears were saved from hair by using the Fur material in my selections. And all hairs are colored properly. Time to save.
Styling
Now – except from hair density – our puppy or kitten only need his/her hair styled in the proper direction. As all surfaces are rather curved, the Pull values don’t serve that well and so I’ve to click [Style Guide Hairs] to use the Hair Editor. It’s just a matter of practice, and this animal offers almost 40 areas to practice with. The easiest parts are at the back (straight tail), the most varied and curved part is at the front (head). So, to gain experience along the way, I’ll work from the tail forward.
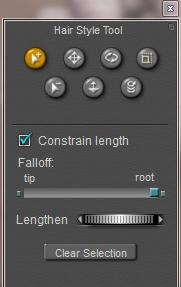
My main tools in the editor are the three ones up-left; select, deselect and move – which just pulls the hairs in a specific direction, plus the up-right one: scale – which tapers the hair ends. There is nothing to rotate, transfer or curl. I’ll keep all hairs at constant length while editing, all edits start at the hair roots (otherwise the hairs stand out for some part), and I won’t need to alter length, let alone exceptions at the ears or nose I guess. Each time I am dissatisfied (or just screw up), I can click [Grow Guide Hairs] in panel 2, and I can start all over again for that piece of hair.
Intermezzo
Since the puppy is composed from a lot of elements, it’s relevant that all have appropriate and matching parameters.
- Length and variance are in user units. That is, if your general preferences (Interface tab) are set to inches, then 1.0 means; 1 inch. When you save your file, send it to me (I’ve my units set to meters), the same hair will show but the setting will read: 0,0254. Internally, Poser saves all lengths and distances in Poser Native Units (PNU). The translation is done in the user interface.
- Pull is some angle between adjacent edges that make up a hair. The first edge always stand right up, then the bending starts. The more Verts per hair, the more edges, the more the hair will finally bend. And the smoother.
- Hair density: the number next to the dial represents the amount of hairs per square user unit. If you (using inches) set it to 10 (hairs per square inch) and I open that file (using meters), I will see 16,000 in that field as 1 meter is about 40 inches (and 10x 40x 40 = 16,000). Note that human and animal hairs are about 100 hairs / cm2 = 645 hairs / inch2 = 1,000,000 hairs/m2. The number between brackets tells the amount of hairs to be generated in the population.
The hair objects generated by Hair Room might become really huge for realistic settings at a high Verts per hair count. A Gorilla, having a body surface of say 2 m2, at 1 million hairs per m2, and 8 verts per hair will generate 16 million vertices which is 200 times as much as a highres Vicky character. You and your PC need the resources (memory, CPU power, render time) to handle that.
Note that the default reads 32,000 hairs per square PNU = 4300 per m2 = 3 per square inch, that’s way below the natural values.
Anyway, when all elements of the puppy needs matching settings, so needs Hair Density to be similar for all of them. - Width, at the tip and the root, can be considered in mm. For natural hair, 0.1 is a decent (root) value.
(thought experiment: take 1 cm2 of surface, give it 100 hairs in a matrix at equal distance, and look straight at it (Front camera or alike). Then 10% of the area looks filled up, as 100 = 10×10, and 10 hairs of 0.1 mm make 1mm = 10% of 1 cm. So a setting of 1 (mm) is really thick.
But when you choose – for performance reasons – for a lower Density setting you can take higher width values to compensate, until things start looking unnatural. - Kink makes curls in a hair, the Scale sets the number of them over a full length, so 4.0 makes 3 full waves as 1.0 makes no wave at all. A delay of 0.2 makes the first 20% from the root up without curl, only the 80% to the tip are effected. More curls per hair require a sufficient setting for the Verts per hair, 4 verts per kink is a minimum to experience effects of some quality (so scale =4 makes about 16 verts minimum), below that the hair gets fuzzy. Strength makes just stronger curls.
- Verts per hair was discussed already, the more you use the more PC power you need to render the result, the smoother and more natural it looks (always that same trade-off J ), the more effect you’ll get from the same Pull values, and the better the quality from Kinks.
Getting Results
Back to Toon Puppy. When I set all hair groups to 1,000,000 hairs per m2, and counted all hairs generated from that, I found that my Toon Puppy was going to end up with about 1,370,000 hairs @16 verts/hair = 22,000,000 vertices. Pressing Render revealed that the memory requirements for even a shadow map went towards 20Gb RAM user memory, causing my PC to start disk-swapping. Not good. Reducing the density a tenfold to 100,000 / m2 reduced the RAM requirements to say 2Gb, easy on my machine but in my opinion a bit too low on quality at close-up camera distance.
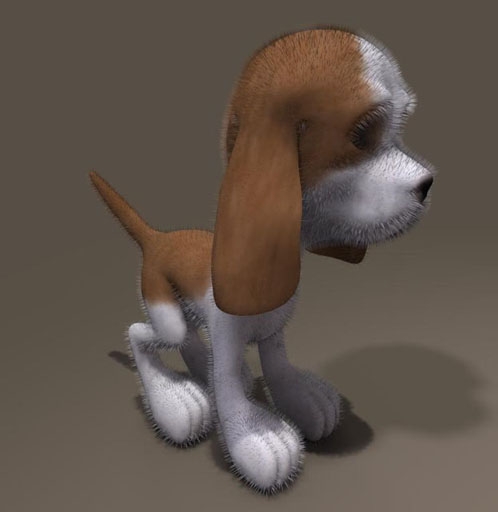
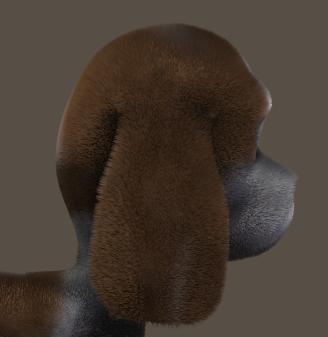
So you can make a compromise depending on your machine specs. See the images, 500,000 hairs/m2, head unstyled, tail styled). Watch the (Windows) TaskManager to flag issues and chances.
By the way: after the tenfold reduction, Toon Puppy had as many hairs as a human blonde (150,000) so Poser is well equipped to handle nice portraits etc at a quality representing nature.
And of course, I can bring down the Verts/hair from 16 to 12 (or 8?). but that is something I can do best before creating styles with the Hair Editor. So, mind the numbers (or just watch TaskManagers when things tend to go wrong), and make some test renders to find the quality balance. High end (large size, high quality) results require appropriate machines, sorry for that.
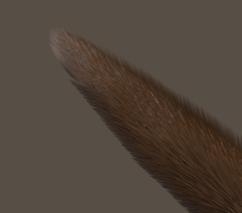
Styling tip: in many cases, there is no One Style that fits all hairs in the group. Like this tail part, the hairs towards the tip end are a bit more styled than the hairs towards the body end, which are more upright. I handle this by first selecting all, do some styling, deselect hairs at the body side, style a bit, deselect more, style a bit, and so on. Especially the Hip (meeting tail and both legs) and the head (lots of curves) need threatments like that.
Toon Fish
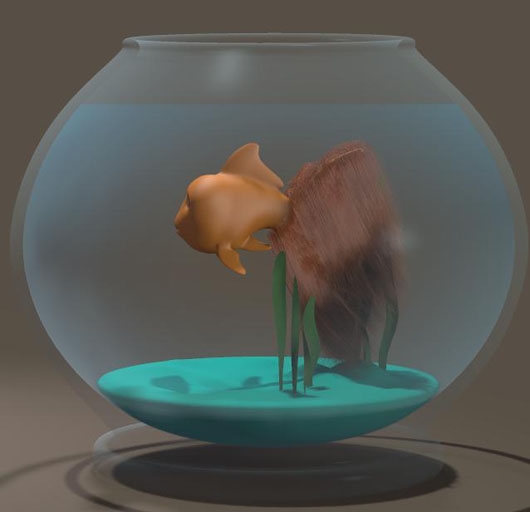
I know, most fish don’t have hair, but a hairy toon fish helps me to introduce some dynamics (panel 4).
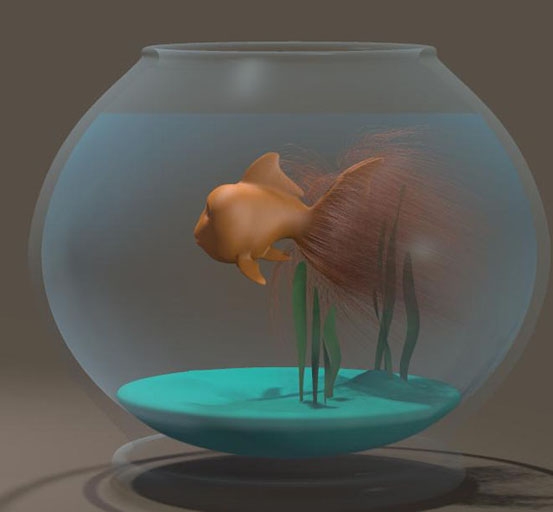
I simply select the tail, assign it a Hair Group, grow guide hairs and turn them orange for the fit. At 40cm length, some Pull back and down, with some density (20,000/m2), and no Kinks, this is it:
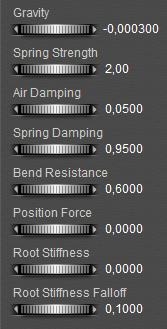
In panel 4, I reduce the Bend Resistance, zero the Root Stiffness and reduce the Falloff.
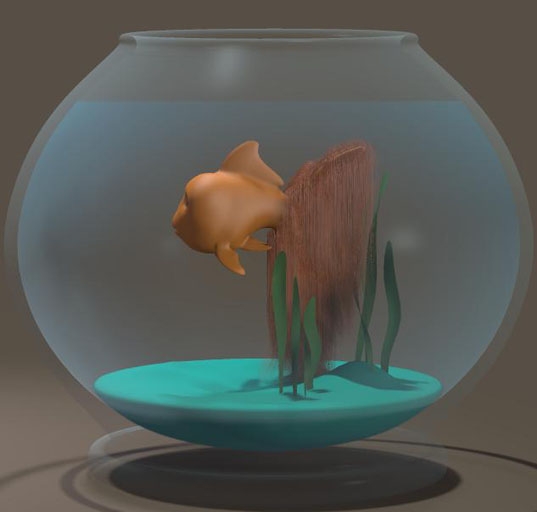
I click [Calculate Dynamics], gravity takes the hairs down, but the default 30 frames are not enough.
So I double them, to 60:
And I [Calculate Dynamics] again.
Nice, but a bit boring:
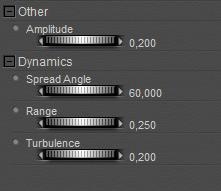
So I added a ForceField (menu Object . Add Wind Force). I put it about in front of the fish, and adjusted its parameters:
And I unchecked Visible in Camera, as the ForceField should look as being generated by the swimming.
And I [Calculate Dynamics] again. Better, but let’s give it another try: Turbulence up to maximum (1.0), and after the calculation I use the time slider to seek an interesting frame. Halfway, I’ve got one for render. To spice it up even more, you can try the workings of the Wave generator (menu Objects . Add Wave). Next time you make dynamic hair for your swimming mermaid, think about the hairy goldfish. Golden hairfish. Whatever.
