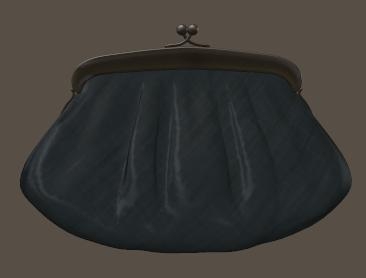
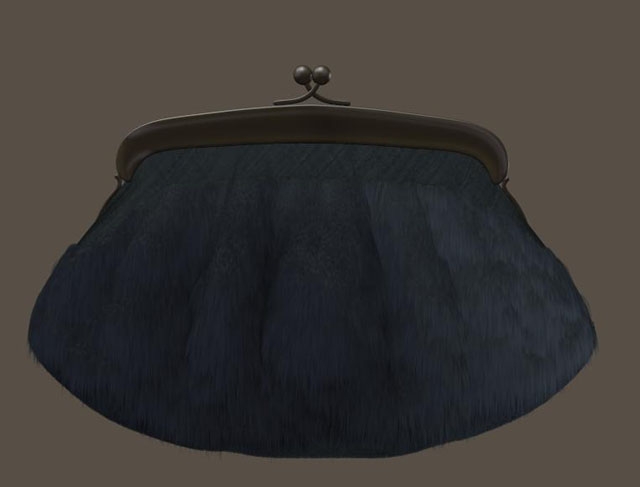
In this chapter I’ll put fur on a simple ladies purse (from the Noctia outfit).
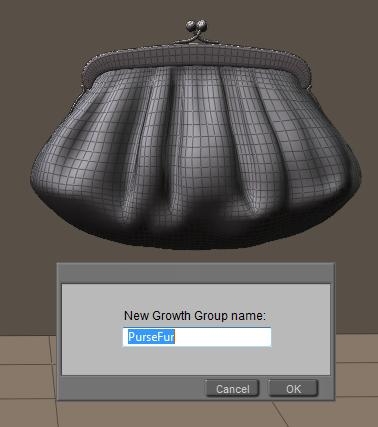
I switch the preview to Smooth Lined (or Flat Lined) to see the polygons, open the Hair Room, ensure I’ve got the Purse figure as well as the Purse bodypart of it selected, I click [New Growth Group] in panel 1 and assign “PurseFur” as the name for the new hairdo.
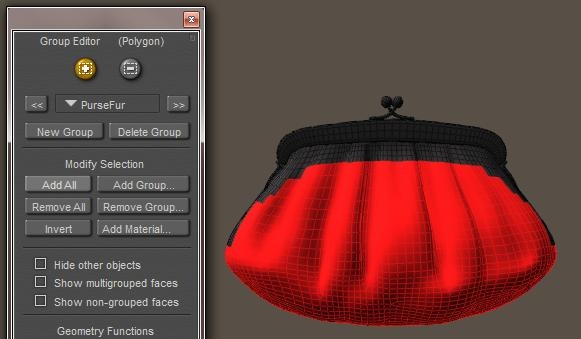
In order to select the entire surface into my hair group, I click [Edit Growth Group] which opens the Group Editor, and [Add All] adds all polys from the Purse\Purse (=figure\part) to the hair group.
The option Hide Other Objects helps me to concentrate on the Purse object, and when I check Show Multigrouped faces I get the entire purse, as all polygons are part of the group Purse as well as part of the group PurseFur.
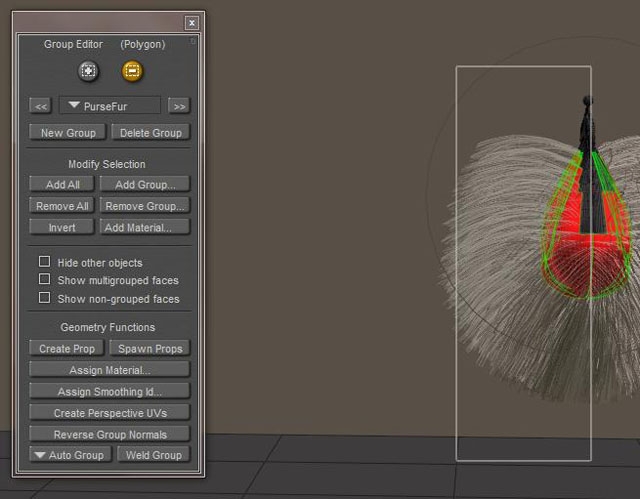
For more details on the Group Editor, just consult the Poser Reference Manual. I can close the editor now, and click [Grow Guide Hairs] in panel 2. Now I realize that I don’t need hairs on the back, I’m only going to render the front side. So I [Edit Growth Group] again, tick the [-] option to subtract faces from the group, position the camera so I can view the purse from aside. While selecting polygons or just clicking them, and by clicking [Grow Guide Hairs] regularly, I can check when I’ve got the proper surface. If I see any hair growing out of unwanted places, I still have to deselect a poly.Growing Hair
Next, I estimate the purse at about 20cm wide and 10cm high, that makes 200cm2. When the fur comes from an animal with a dense coat I guess I’ll need 400 hairs per cm2 (human heads do about 200), so that will be 80.000 hairs. In this tut, I’ll far less. Given the size of the purse, the hairs can be 1-2cm long, and 1-2mm thick as animal hair. These short, thick hairs covering the purse are not going wild in wind, gravity or any styling so I do not need high mesh resolutions.
Important note: Hair Length and Variance are presented in user units, in my case: meters. My 0.015m = 1.5cm = 0.6″. Hair Density is presented in (hairs per) square user units, in my case: hairs per m2. My 400,000/m2 = 40 /cm2 = 258/inch2.
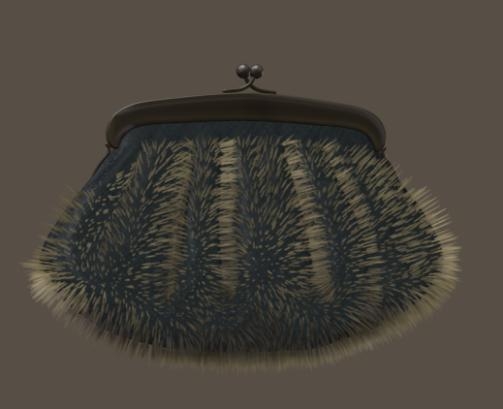
As all hairs are standing straight out, as I haven’t done anything dynamic and as there is a serious color contrast between the purse and the hairs, the rendered result looks like a porcupine. But I’m not done yet.
Since animal fur grows quite flat onto the skin, I can use the Pull Down dial to establish that effect. There is nothing to Pull back or Pull Side, so I leave these alone (at 0.0).
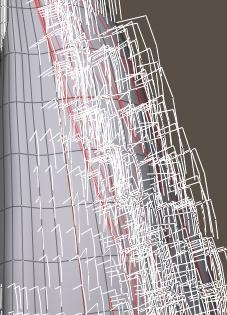
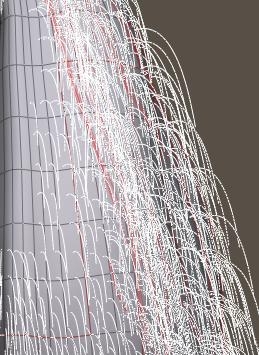
As the left image (shot from aside) reveals, I need a large value (0.005) and the hairs bend quite sharp. This is due to the lack of resolution, a hair can only bend at a vertex. So I turn the 4 Verts per hair up to 32. And now I get a much smoother result, at a much lower value (0,00004) – right image. And as I don’t need clumpiness or kinks in this straight animal fur, I decide that this should do.
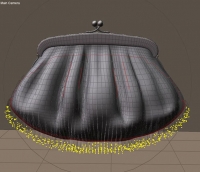
From this I can identify some areas for improvement.- The hairs are the bottom should be shortened (shaved).
- I need a coloring of the purse and the hair, and blend them together
- If then still needed, I might need a higher hair density. This is simply a matter of raising the value and turning the appropriate dial. Twofold, Fourfold, I’ll see.
Shaving
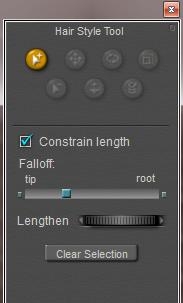
Of course I can remove the bottom area from the PurseFur hair group, and create a new one with shorter hairs. But now I’m going to alter individual hairs instead, and so I click [Style Hairs…] in panel 3. The Select+ option is on by default, and I start selecting all hair(tips) that I want to alter.
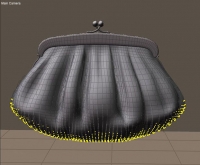
Then I use the Lengthen dial (rotate left) to shrink the selected hairs. When done I [Clear Selection], spot any hairs I missed and give them the same treatment.
Notes:
- There is no way to save selections for later use. Once done, I’ve got to reselect them.
- Any touching of button, dial of value field in panel 2 will completely undo all styling for all hairs in the hair group at hand. This means that I must be sure about Length and Pull settings before starting to style.
Dye Hair
In order to change to coloring of the purse and the fur, I step into Material Room, Advanced tab, and select the PurseFur prop from the objects list. This prop contains all hairs in that group, but not the purse surface itself.
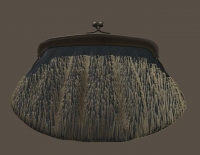
The fur material is set to its Blonde default, and the first thing to do is to increase the Root Softness. This blends the root of the hair into the surface by making the hair increasingly transparent from the outside in. But in this case, the contrast between haircolor and surface color is so strong that I really need recoloring. Since the purse is dark teal/blue-green I selected Root = RGB(31,33,32), Tip = RGB(71,85,99) and Specularity somewhat in between, and set Root Softness to 0.5.
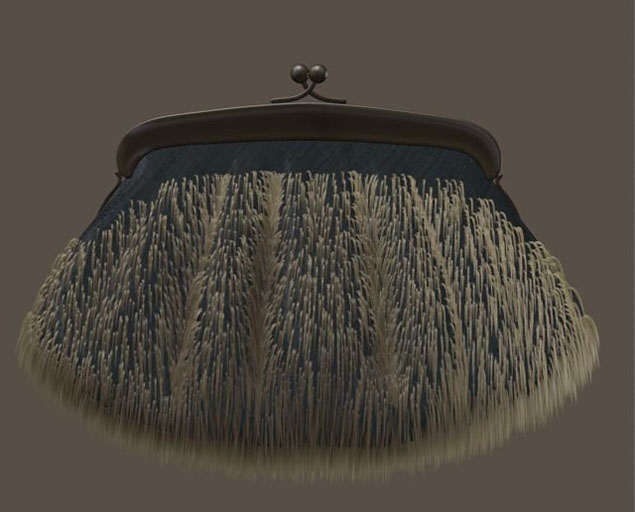
The result was not that satisfying, so I severely reduced the Specularity (and Alt_Specularity) of the purse itself, but reducing the brightness or their color swatches. And – as stated in the improvement notes above – I drastically increased haircount at the cost of longer render times and higher memory consumption. From 400,000 to 1,280,000.
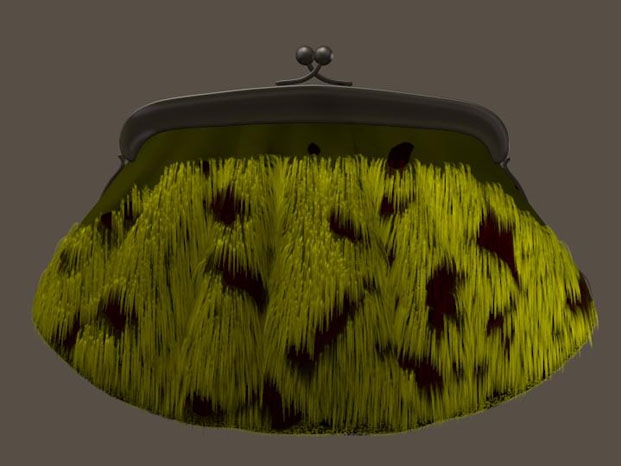
To have more fun, I turned the purse into Marsupilami, the comic animal by Franquin (www.marsupilami.com).
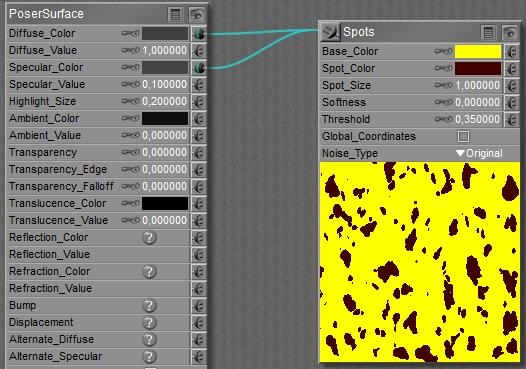
So I altered the material for the purse itself into a simple one.
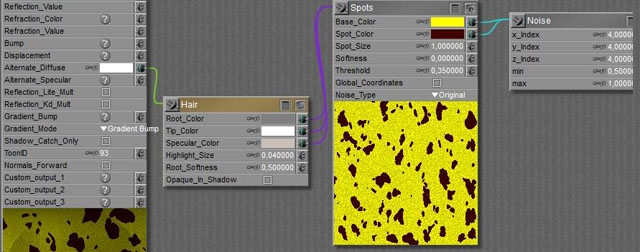
And I copied the Spots into the material of the PurseFur object, in between the original Noise and Hair nodes.Since I’m using the same Spots in all places, any differences come from the filtering by the colorswatches. The Diffuse and Specular in the purse material itself both are the darkest, while Specular has a reduced value (0.1) as well. Only metals have a high specularity. My idea on finished animal furs is that the skin itself has the darkest tone. In the PurseFur hair material, the Root color is the next darkest, the Tip color is just white and the specular for the hair is somewhat in between with a slight brownish hue. The effect of the (already present) Noise node is very visible in the spots now.
And since the hair matches the cloth of the purse, I can do with a reduced hair density. So I lowered it from 1,280,000 to 320,000, and got after rendering:
