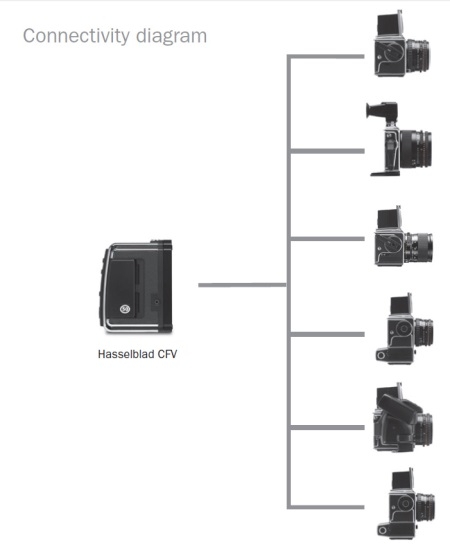
Like the Poser Camera can be seen as the virtual equivalent of a real-life camera front-end: the body + lens & shutter system, so can the Poser Renderer be seen as the virtual equivalent of the real-life camera backend: the backplane, or film / CCD image capturing device.
The captured image itself is determined by the camera Field of View, the Poser backend does not auto-adjust to lighting variations; it offers a fixed sensitivity. A 100% diffuse white light plainly lighting a 100% diffuse white object will create a 100% white lit area in the result. Adding more lights, and/or adding specular lighting on top of this will make the image overlit: higher lighting levels get clipped and details will get lost.
Given image contents, the Poser Renderer has an adjustable resolution: I can set about any image size in pixels, maintaining the Field of View. Poser Pro also supports 16-bit-per color (HDR, EXR) image output to ease enhancements of low lighting levels in post, and also supports various forms of render passes: splitting the result into separate images for separate aspects of the image, to ease advanced forms of post-processing (see my separate Poser Render Passes tutorial). A real-life camera can’t do all that.
Rendering takes time and resources, a lot. Rendering techniques therefor concentrate on the issue: how to get the most out of it at the least costs. As in most cases, you and me, the users themselves, and our processes (workflows) are the most determining factor. Image size, and limits on render time come second. Third, I’ll have to master the settings and parameters of the renderer. And last but not least I can consider alternatives for the Poser Firefly renderer.
Render habits
In the early days, computers were a scarce resource. Therefore, programmers were allowed to make three tests maximum before their compiled result proved flawless, and could be taken into production. At present, computing power is plenty, and some designers press the Render button about every 5 minutes to enjoy their small progress at the highest available quality. For 3D rendering, any best practice is somewhere in the middle.
Rendering takes time and resources, a lot. But modeling, texturing, and posing (staging, framing, animating) do take a lot of time as well. Therefore it makes sense to put up some plan, before starting any project of some size. Not only for pros on a deadline, having to serve an impatient client. But for amateurs or hobbyists like me as well or even more so, since we don’t have a surplus of spare time and don’t like to be tied to the same creative goals for months.
First, especially in animating, I concentrate on timing, framing (camera Point of View) and silhouettes. In stills, my first step should be on framing, basic shapes, and lighting – or: brightness levels and shadowing. Second, colors (material hues) and some “rough details” (expressions) kick in. Third, material details (shine, reflection, metallic, glass, stains, …), muscle tones, cloth folds (bump, displacement) enter the scene. And finally, increasing render quality and similar advanced steps become worthwhile, but not before all steps mentioned above are taken up to a satisfying intermediate result.
In the meanwhile, it pays off to evaluate each intermediate render as completely as possible and relevant, and to implement all my findings in the next round. I just try to squeeze a lot of improvement points between two successive renders, instead of hitting the Render button for celebrating each improvement implemented. Because that’s so much a waste of time, it’s so much slowing down the progress in my work.
So, while I am allowed more than three test runs for my result, I use them wisely. They do come at some cost.
Render process
So the one final step in 3D imaging is the rendering process, producing an image from the scene I worked on shaping and posing objects, texturing surfaces and lighting the stage. This process tries hard to mimic processes from nature, where light rays (or photons) fly around, bounce up and down till they hit the back plane of the camera, or the retina of my eye. But in nature all zillions of rays can travel by themselves, in parallel, without additional computation. They’re all captured in parallel by my eye, and processed in parallel by my brain.
A renderer however is limited in threads that can be handled in parallel, and in processing power and memory that can be thrown at them. Improved algorithms might help to reduce the load and modern hardware technology might help to speed up handling it, but in the end anything I do falls short compared with nature.
This issue can be handled in two ways:
- * By reducing my quality requirements. Instead of the continuous stream of light which passes my pupils, I only produce 24 frames a second when making a movie. When making a single frame or image, I only produce a limited amount of pixels. Quality means: fit for purpose. Overshooting the requirements does not produce more quality, it’s just wasting time and resources.
- * By throwing more time and more power to it. Multi-threaded PC’s, supercomputers, utilizing graphics processors in the video card, building render farms over the Internet or just putting 500 workstations in parallel in a warehouse are one side of the coin. Just taking a day or so per frame is the other side. This holds for amateurs like me, who are happy to wait two days for the final poster-size render of a massive Vue landscape. It also holds for the pro studios who put one workstation at the job of rendering one frame over 20 hours, spend 4 hours on backup and systems handling, and so spits out one frame a day exactly – per machine. With 500 machines in sync, it takes them 260 days to produce a full featured 90 minute CGI animation.
Since technology develops rapidly, and since people have far different amounts of money and time available for the rendering job, either professional or for hobby, I can’t elaborate much on the second way to go.
Instead, I’ll pick up the first way, and turn it into
How to reduce quality a little bit while reducing duration and resources a lot.
Of course, it’s entirely up to you to set a minimum level for the required quality, in every specific case, I can’t go there. But I can offer some insights that might be of help to get there effectively and efficiently.

