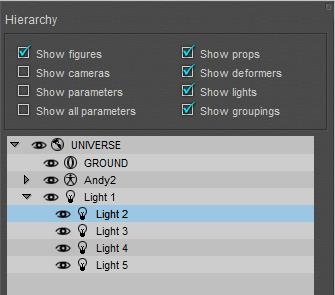
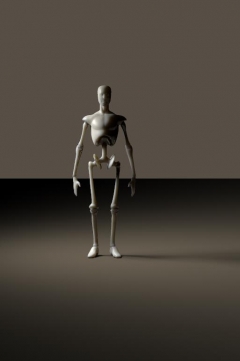
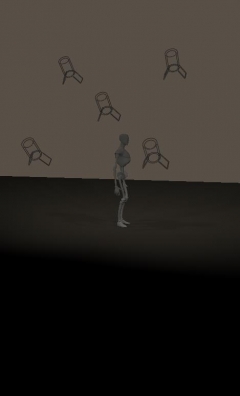
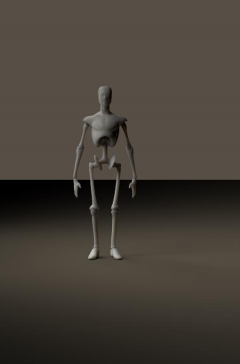
Poser offers several types of direct lights: Point Lights, Spot Lights, Infinite Lights and ImageBased Lights. Poser does not offer Area Lights, nor shaped lights like neon texts, as a direct lighting source. These can be emulated by Indirect Lighting techniques, which are discuscced in a later chapter.
Point Lights
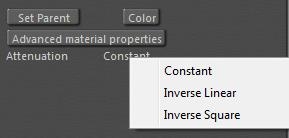
A Point light differs from an Infinite light in just a few ways. First, is has a location X,Y,Z and so it has a distance to figures and props in the scene. As a consequence, attenuation and distance related intensity falloff can be supported. In the light properties, for a start. Constant means: no drop, like the infinite light. Inverse Square means an 1/x2 or: following physical reality for a singular light bulb. Inverse linear means 1/x which is just somewhat in between, a bit like the falloff from a lit shopping window or a long array of street lanterns.
The Constant attenuation works with the parameters Dist_Start and Dist_End.
These imply that the intensity drops from full to zero – linearly – in the given distance range. In this example, a 100% light remains so until 5mtr, and then drops with 20% a meter till after another 5 mtr there is no intensity left.
Note that this distance-drop works for Pointlights as well as Spotlights (even if the title says: Spotlight), and works for Constant attenuation only. Inverse Linear or Inverse Square attenuations remain as they are, they do not respond to this extra distance drop. When Start as well as End are set to 0, there is no drop, which is the default.
Spot Lights
In addition to Point lights, Spot lights have an additional “light beam width”. The light is equally intense in all directions, then drops off (linearly) from the Angle_Start to the Angle_End.
Personally I don’t understand the default, who wants a gradual falloff from the heart of the beam to 70°? When the flaps could open up to 180° then the spot would turn into a point light, but they can’t: 160° is the max. In reality, 80° to 90° might be a decent maximum. I guess real light dims within 20°, so flaps at 80° would suggest an angular dropoff from 70° to 90°.
Spotlights are the ultimate candidates for making beams in fog and other atmospheric effects. This is dealt with in the chapter in Poser Atmospherics, later in this tutorial.
Bulbs and Window Panes
In the real world, lamps are not infinitely small. Lamps may come as bulbs (say half to one inch radius), but also might be as large as a shop window, or even a street full of shop windows.
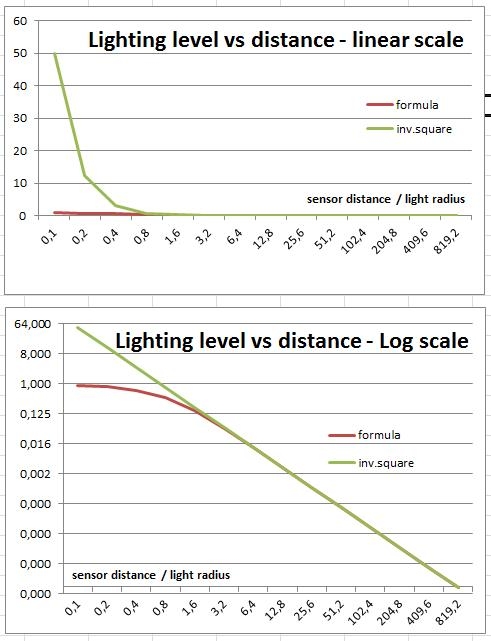
Very close to the light, there won’t be any falloff when we move gradually away. Very far from the light, every lamp becomes a point light and will have inverse-square falloff. This is illustrated in the graphs, the green one presenting inverse square, the red one a lamp with some real size.
For a disk-shaped light source (as a point light with some size at a distance) with radius R lighting and a sensor at distance d, the light captured by the sensor is directly proportional to
{ 1 – 1 / sqrt[1+ (R/d)2] }
From the graphs it becomes apparent that when the distance becomes more than twice the radius of the lamp (value 2.0 on the horizontal axis), this falloff behavior becomes about the same as ideal inverse square falloff (red and green curves match), and hence the lamp can safely be considered a point light.
Window panes – although not circular – will not be that different. I can use half the average of width and height for “radius”, and I can use a distance : size ratio of at least 3 or even 4 to be on the safe side when I want to. But at least I do know that for distances larger than say 3 times the window size, the inverse square law holds pretty well, while for distances smaller than say half the window size, any falloff better can be ignored.
Light Strips and Softboxes
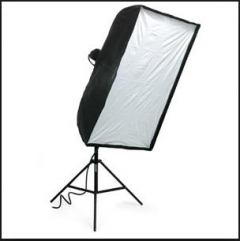
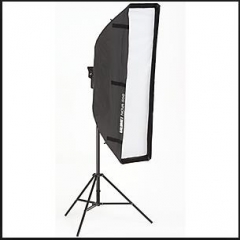
Photographers use softboxes (square-ish) or lightstrips (quite elongated softboxes) instead of flashes, for the simple reason that the larger the light, the softer its shadows will be. So softboxes are a nice way to simulate environmental, ambient lighting while flashing under studio conditions.
Something similar holds for Poser lighting as well, and one might like some softbox equivalent in the 3D scene. Unfortunately, Poser does not support Area Lights, which would be ideal for this.
This leaves two alternatives: I can make one from a glowing rectangle under IDL conditions, or I can stack a series of direct (spot)lights together in a row or matrix. Indirect or direct lighting, that’s the question. The first option will be investigated later in this tutorial. The second option takes one spotlight, flaps wide open, in the middle and four around it at the corners. Of course one can make up larger constructions, but it’s doubtful whether that pays off. Parenting the corner-ones to the middle one enables me to use the shadow-cam related to the middle one for aiming the entire construction.
Then I’ve got to adjust the lighting levels, and make sure the sum of the intensities matches the original intensity (or just a bit more, to compensate for the corners-lights at some distance of the main one). Like 10% (middle) + 4x 22,5% to make 100%, or 15% + 4x 30% = 135%. Next to that, I adjust the shadowing (raytracing, blur radius 20, samples 200) to soften the lighting even further, as I can reduce the shadow parameter itself to say 80%.
What is a good size for softboxes? Well, photographers are quite clear about that. A good box is at least as large as the object to be pictured, and placed at a distance at least once, at most twice the size of the box itself. So, for the mildly zoomed out result above, the 2×2 mtr software actually is too small, and probably a bit too far away as well.
Should I set attenuation for the lights? Well, an object so close to the softbox should be considered as a person standing in front of a shopping window. And in the paragraph above on window panes I argued that the range between one and two window-sizes meets the transition area between no attenuation (till say half the window size) and neat point-light-like inverse square attenuation (from say three window sizes). So I can pick inverse-linear as a go-between or use the Dist_Start and Dist_End parameters for each lamp to ensure the softbox is working on the object only, and is not lighting the background, as is done in real life too.
Diffuse IBL
This technique is a first attempt in the graphics industry to make a) better environmental lighting and b) create lighting in a 3D scene which matches the colors and intensities of the light in a real scene. The latter is required to make a smooth integration of 3D elements into real-life footage.
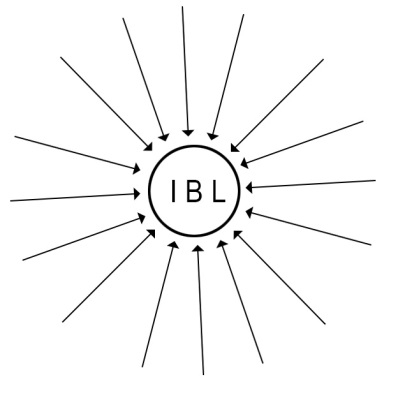
First, this technique uses an “inverse point light”, that is the light rays in the 3D scene will be treated as generated from an all-surrounding sky dome – which is not really present in the scene – towards the IBL Light. Or: the IBL-light is the “source’ of light rays which are treated as travelling inward. Whatever view fits you best.
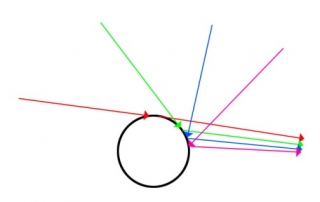
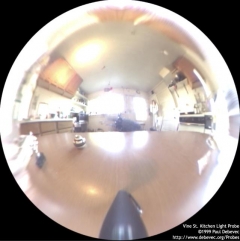
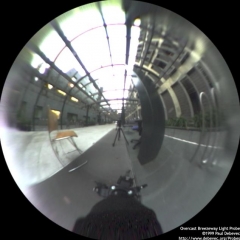
Second, all those light rays get their color and intensity from an image map. When this image map is folded around a tiny sphere at the place of the light, then each point on the sphere presents the environment, sky as well as ground, when looking around from the center of the sphere. The image map can be obtained by taking a picture of such a (very reflective) spherical object in the real life scene.
| Indoor sample | Outdoor sample |
So one also can say: the IBL light projects the image map onto the (imaginary) sky dome in the 3D scene which then re-emits that light back to the IBL.
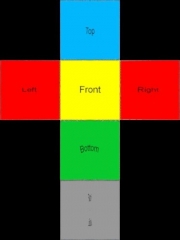
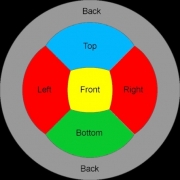
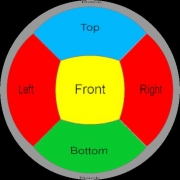
In the meantime, the industry has developed the concept further, and especially tried to replace the reflective ball by panorama photography and multi-image stitching, or by other types of mapping the obtained images onto the IBL, aka the virtual sky dome.
| Cube mapping | Panorama | Angular map | Mirrored ball |
Poser Diffuse IBL (Image Based Lighting), works in the Diffuse (Reflection, etc) channels but not in Specular (nor Alternate_Specular): Poser IBL lights cannot produce highlights, I need one of the other direct lights for doing that.
Poser IBL is quite good in creating an ambient, environmental lighting in a fast way. As a result, it’s not so good in creating a similarly improved, matching shadowing. This introduced the need for AO, Ambient Occlusion, the shadowing of ambient, environmental lighting which makes it darker under tables and cupboards, and generates self-shadowing in objects with a complex geometry.
In Poser, and in lots of other programs, the developments continued. And so did the processing power in our PC’s. This introduced IDL, Indirect Lighting, with sky domes or other scene-enclosures which radiate light by themselves into the scene, and which can be textured in the regular way. Fading out IBL as a lighting solution.
