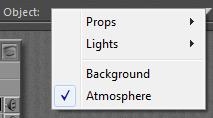
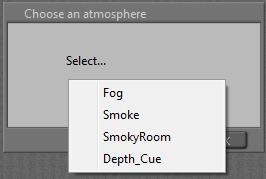
The Poser atmosphere has three aspects: Depth Cue, Volume (both through the Material Room, Atmosphere Node) and Lighting (through the Properties of a Direct Light (Spotlight, eventually Point light). Depth Cue and Volume can be set independently, the Lighting works with the Volume settings. Material Room also has a big button (Wacro): Create Atmosphere. There are various standard options to choose from:
So, let’s take each element apart, and combine them later. Before I dive in: these effects are visible only against objects, reflecting light towards the camera which then is filtered through the atmosphere. Just having a set up a background image and the Poser ground won’t help. You do need a real ground object, and a real backdrop object even when it’s painted black.
Depth Cue
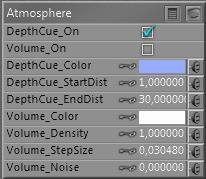
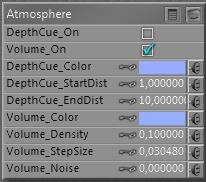
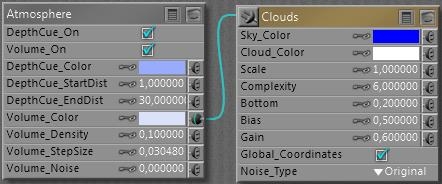
The Atmosphere Node, accessible in the Materials Room, presents for DepthCue: On, Color, StartDist and EndDist.
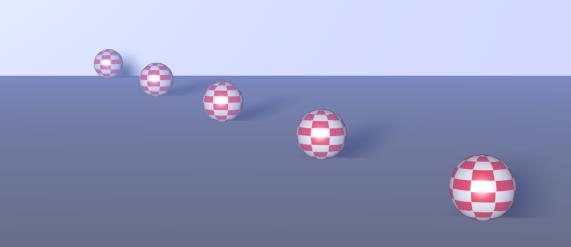
Depth Cue adjusts the color of objects towards the DepthCue_Color, such that all objects less that StartDist from the camera are not affected, all objects more than EndDist are fully effected and take that specific color only regardless of its materials, and everything in between is effected linearly (so an object at 30% between Start and End gets 30% of the DepthCue Color and 70% of its own.
This reflects the presence of damp or fog, which colors objects slightly towards bluish grey (large outdoor scenes) or to white (real fog, smaller outdoor scenes). It is also a great way to mimic environmental (indirect, IBL) lighting without the rendering costs, for instance sliding colors towards green in a deep forest, and it’s also great for creating under water scenes, coloring towards dark bluish / greenish cyan.
A common trick is the use of “black fog” making objects fade into the dark. Great for evening shots. Or use dark blue, for graveyard and gothic effects. The main thing is: Depth Cue relates to the camera looking into the scene, independent of the lighting.
Thanks to the on/off switch it can be activated independent of other effects to ease setting and evaluating the proper values, and to make atmospheres with volume without depth cue, or the other way around.
Volume
As Depth Cue relates to the camera, so does Volume relate to the lights. Volume effects can be switched on/off themselves too, so they can be set independent of the Depth Cue effects.
The main parameters are Volume Color, and Density. When a direct light illuminates a volume in the scene, that volume acts like a transparent fuzzy object with that specific internal color. The lower the Density the more transparent it seems. On the other hand, each light can have its own Atmospheric Strength parameter:
So some lights can interact more than others. For example:
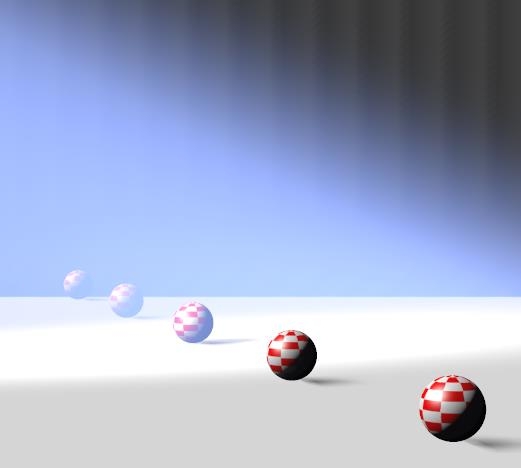
One infinite white light, Atmospheric Strength as low as 0.000010 plus one white spotlight, angular falloff from 10 to 20, Atmospheric Strengths as high as 0.100. From the different settings of the lights one can discriminate the spotlight from the overall scene lighting. The bluish color is from the Volume settings.
I noted that especially Volume effects take some time to render. A larger stepsize speeds up the calculations at the cost of quality and detail. Increasing the Noise parameter helps to improve on the quality especially at larger stepsizes.
Volume and Depth Cue together
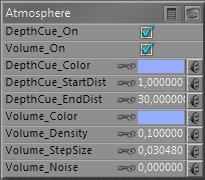
As said: like Depth Cue relates to the camera, so does Volume relate to the lights. But atmospheres of course do both: light rays travel through the atmosphere before they hit an object, and then travel through the atmosphere again to hit the camera. So, let’s add up Depth Cue and Volume:
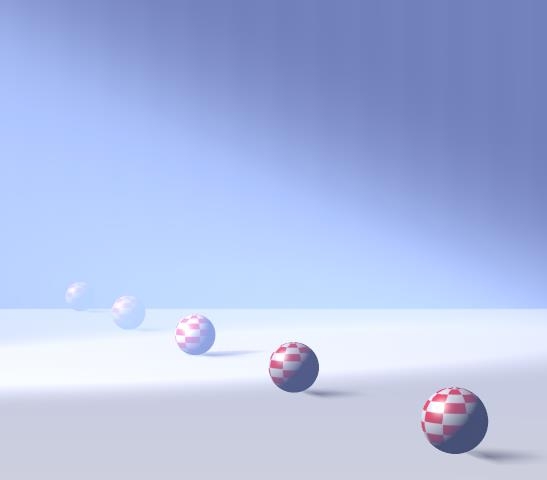
Which gives me:
The art of making atmospheres now focusses on mixing the proper colors and balancing the other parameters, Volume Density versus Depth Cue Start/End. This happens when I just brighten the Volume Color:
The beam stands out more, but I’ve lost the two balls in the back.
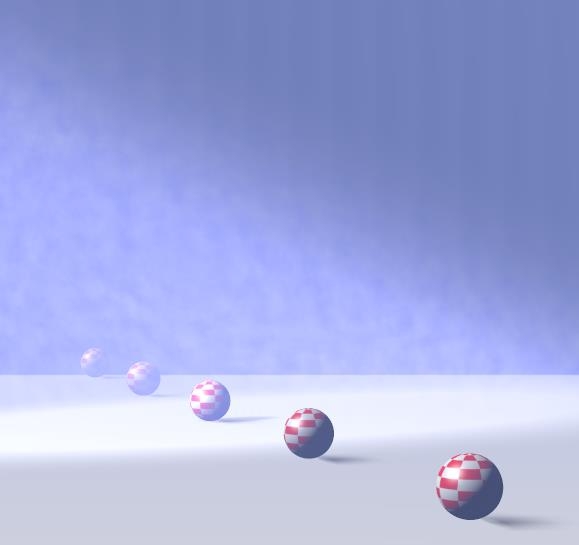
Introducing some structure however (assigning a clouds effects to the Volume):
Given render times, it might be an idea to construct the atmosphere in a simplified version of the scene. Then build the scene with the atmospherics switched off. Ultimately, switch on the atmospherics in the final, detailed scene. From the examples above we learn that we should not spend too much time in tweaking the details of the far away objects.
Standard Atmospheres
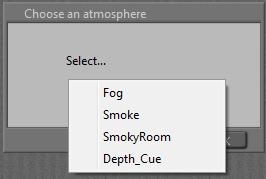
The Create Atmosphere Wacro button in Material Room presents four standard settings, as a start for my own:
Fog
Just assigning its own specific Cloud node to an existing Atmosphere node, which does not have any parameters changed.
Smoke
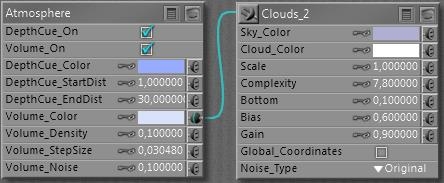
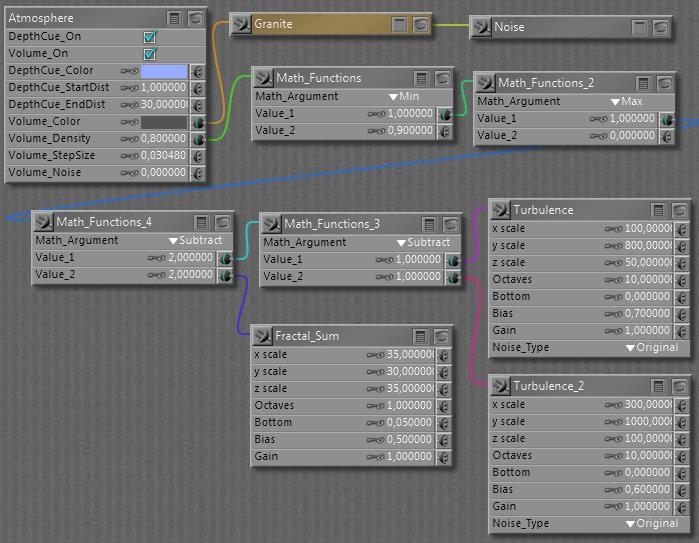
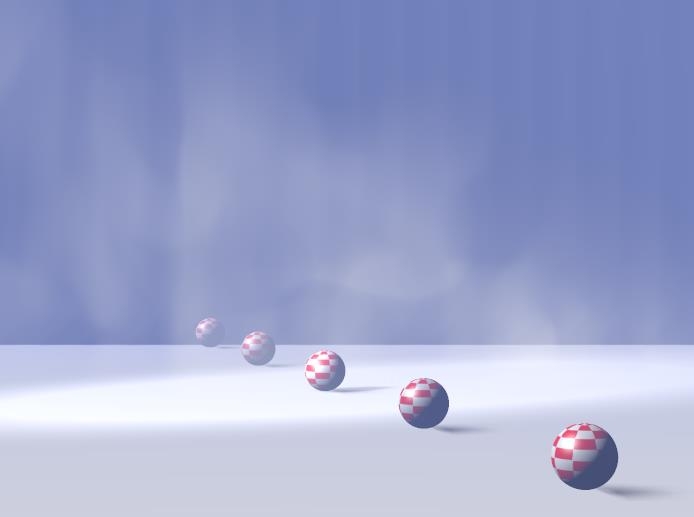
This Wacro changes the atmospheres Volume Color and Desity, and adds a serious set of nodes to both of them. Which does have an interesting effect:
It’s really different, isn’t it? Looks great as a morning fog above the water too, it looks as moving upward.
SmokeyRoom
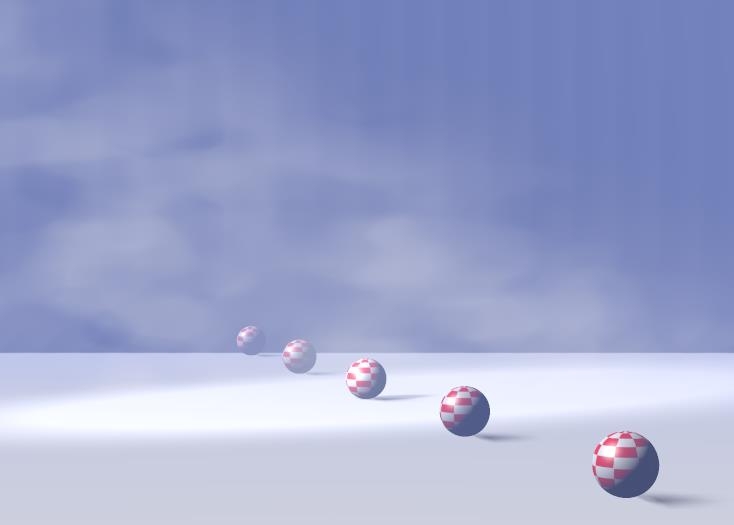
Does a similar job, except it replaces the Fractal_Sum function by an extended set of nodes, resulting in:
Different structure in the beam of light, this kind of smoke seems to build up, thanks to the ceiling in the room.
Depth Cue
This option leaves all Volume settings as they are, but alters the Depth Cue Color, Start and End parameters. The latter two are determined by the positions of elements in the scene itself. A larger scene gets larger values, quite convenient.
The three Volume choices replace each other when selected, all are independent of Depth Cue. The Depth Cue option adds to either Volume setting.


This is a great tutorial It explains it in an easy-to-understand way, with examples and all! Thanks!
I’m sitting here amazed, it’s like I’ve never used the program before … although some features are beyond my PP2010, I’m still learning a LOT.