Nodes are the essential building blocks in the Advanced interface to the Poser Material Room. They are the graphical representation of mathematical function calls, that is: calculation procedures which turn parameters (inputs) to a result (output).
Intermediate
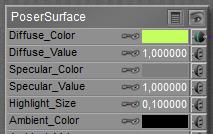
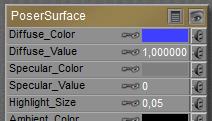
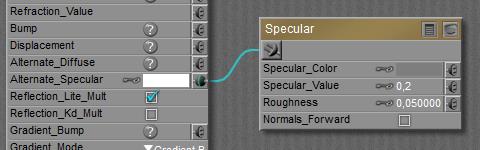
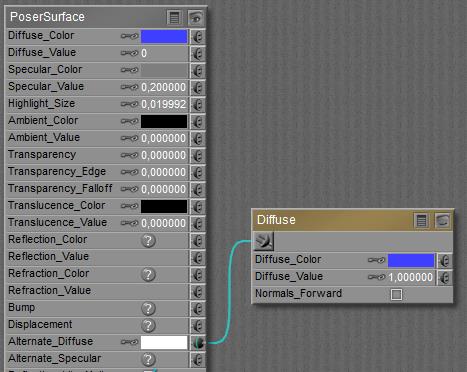
The Specular component in the PoserSurface material definition acts as a neutral entry into the spine with the specular node already attached to it. This embeds the material definition as represented by the specular node into the PoserSurface.
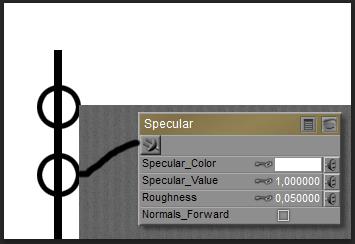
The specular node itself enables me to apply this definition explicitly in other occasions, like an element in a shading tree plugged into the Alternate Specular entry. So, when I disable (blacken out) the Specular component and plug the specular node into Alternate Specular (which is a neutral node by itself), I’ll get the same result.
On Specularity node parameters
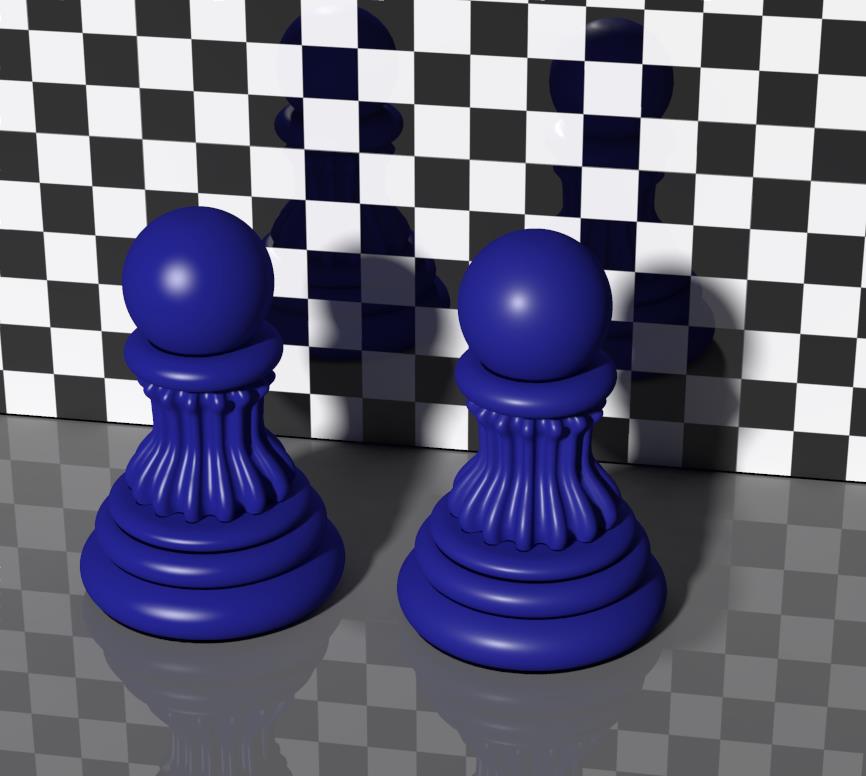
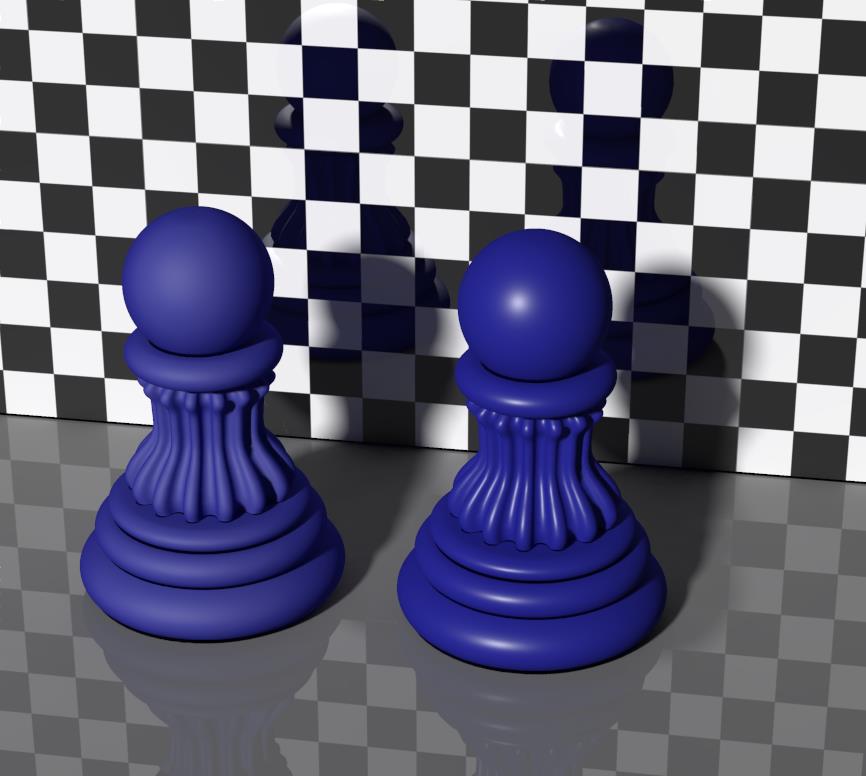
Left: Specular Color, Value (set to 0.2), Highlight Size (0.05) and Normals Forward embedded in the PoserSurface definition. Right: the embedded diffuse is nullified (Value=0), the node is plugged into Alt Specular.
Like the PoserSurface component itself, the Specular node has Color, Value and Normals Forward for parameters. Highlight Size as used in the PoserSurface and Roughness as used in the node refer to the same, just different words for the same concept. The same value will render the same result. The smoother the surface, the smaller the roughness value, the sharper, stronger and smaller the highlight will be. Note however that Highlight Size and Roughness come with different default values.
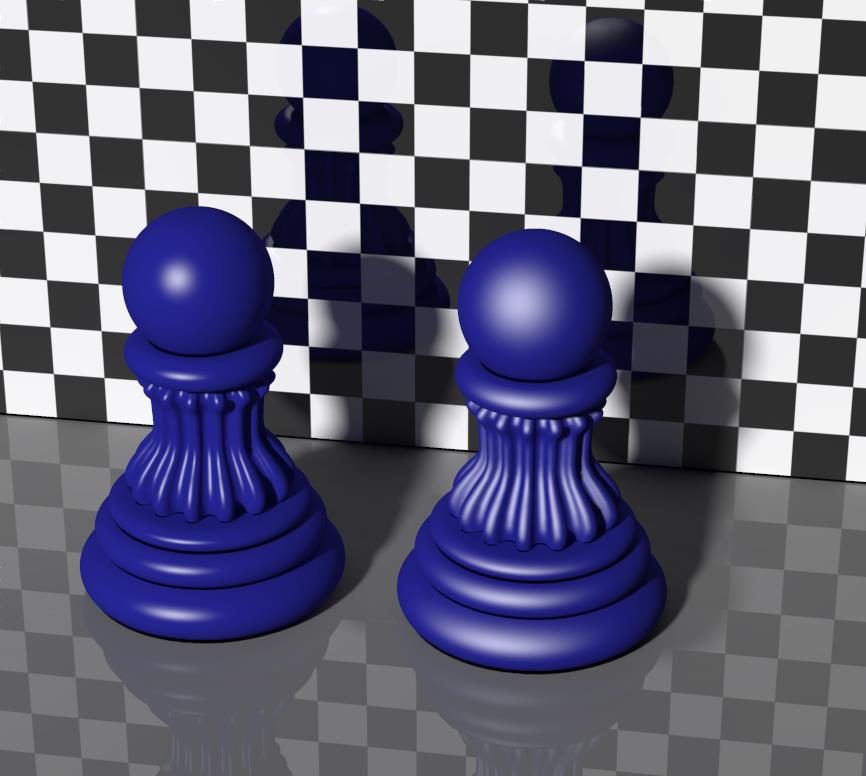
Left: Highlight size 0.05, right: highlight size 0.25.
On highlights and specularity
The Specular node (as well as its embedded variant, as well as all its alternatives) responds to specular light, which refers to specular light from direct (point- spot- infinite) sources only.
 <=>
<=> 
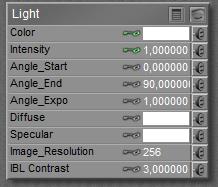
Nor IBL direct lights, nor IDL lighting setups do supply any specular lighting, and therefore cannot create highlights in the render.
Note that any form of specular lighting, handled by the specular nodes or any of its alternatives (Blinn, …) actually represents the reflection of the direct lights in the scene themselves onto the object surface. The reflective properties of a PoserSurface only bounce the (diffuse) light from surrounding objects in the scene, not from lights. As reflected light itself is considered diffuse and not specular, reflections of lights in mirrors, metal objects or anything else will not create highlights on other objects by themselves.
Also note – with respect to IDL and reflections – that the resulting highlights from specular lighting will be considered diffuse light themselves. So they will contribute in IDL lighting the scene, they will occur in reflections, and again – they will not create highlights on other objects.
So, the Specular node (as well as its embedded variant, as well as all its alternatives) responds to specular light. The response is to re-emit the received light, independent of any angle of incidence for the incoming light rays, in the form of highlights on the surface. Plus: Color and Value work together.
Variations
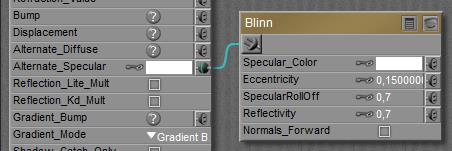
As Poser is not raytracing to derive the specular highlights and as blurred highlights are not properly described by the sharp “angle in equals angle out” concept as is the case with decent mirrors, one has to define another rule for re-distributing the bounced light. And though the specular principle calculates and renders pretty fast, it produces quite unrealistic results and makes everything look like a bad representation of hard plastic. This is why Poser offers alternatives, like Blinn or Anisotropic for microscopically grooved surfaces.
A decent run-down on various specular reflection models is here: http://en.wikipedia.org/wiki/Specular_highlight
There is a confusing nomenclature in Poser regarding “Phong”. There is a Phong node, but it does not implement what is now called the Phong Reflection Model. It implements something that Mr. Phong used in the 70’s which has now been discarded because computers are so much faster – we can use better models. With some subtle differences and variation, we can make these connections:
- The “Phong distribution” explained in that Wikipedia article is what in Poser is called the Specular node.
- The “Ward anisotropic distribution” is our Anisotropic node.
- The “Cook-Torrance model” is our Blinn node. (As far as I can tell, Blinn took the Cook-Torrance model and improved upon it – resulting in the Blinn-Phong reflection model. Or something like that.)
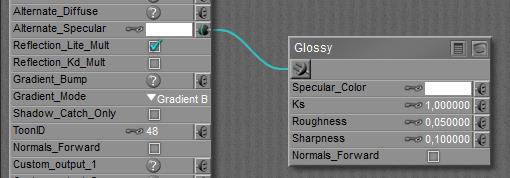
The Glossy node is none of these. It is a clever little cheat to deal with the fact that our CG lights are effectively point sources. A point light has no dimension, and a perfect glossy specular reflection of it would have no dimension, either. The Glossy node ignores that little fact. It simulates what you’d get from a glossy surface if the light actually had some finite width to it.
by Bagginsbill, Renderosity forum, 2009
Next >


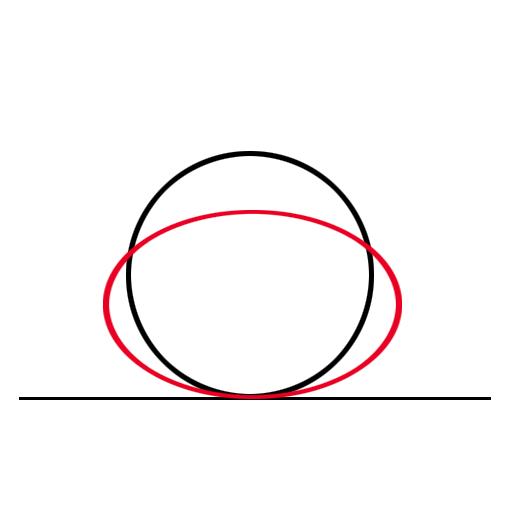 The graph shows this in another way. The black circle represents the light intensity from classic Lambert diffusion. Lots of light perpendicular from the surface, no light parallel to it, and a cosine fall-off for angles in between. The red curve represents the Clay effect: less light perpendicular compared to diffuse, but less intensity-falloff at the edges.
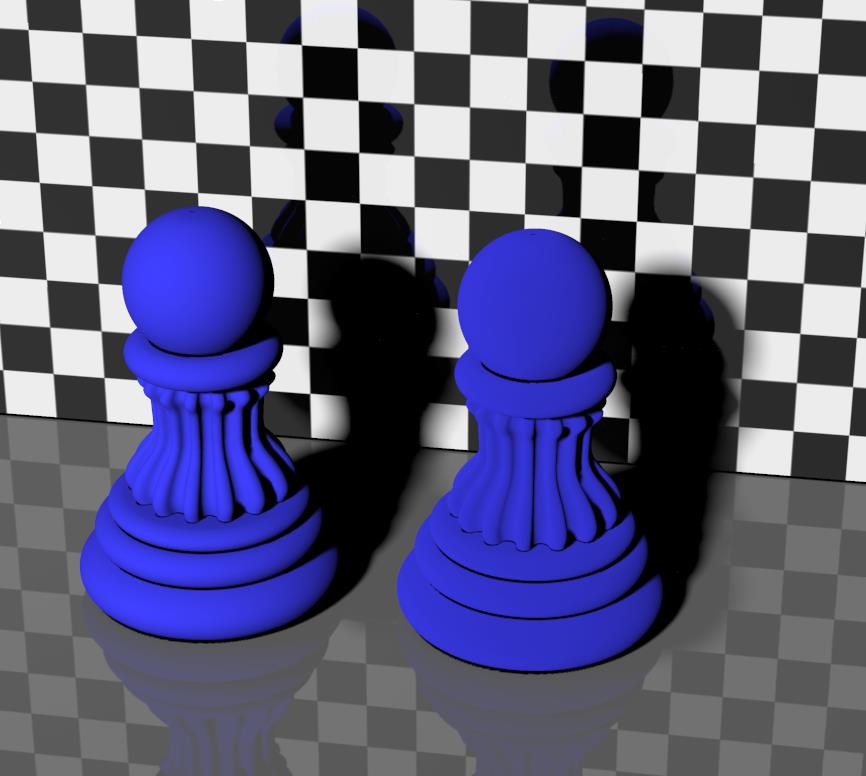
 is equivalent to
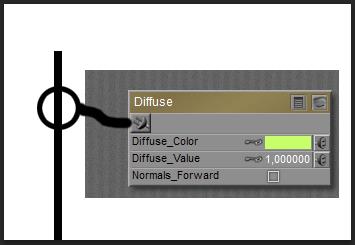
 <=>
<=> 
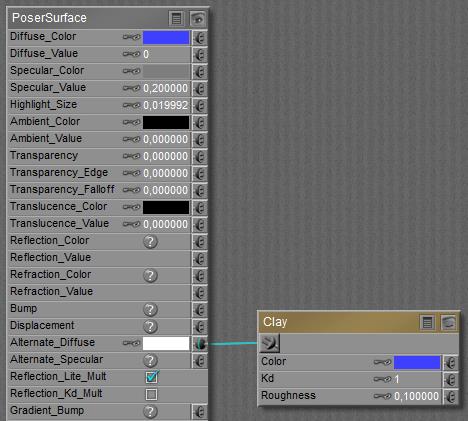
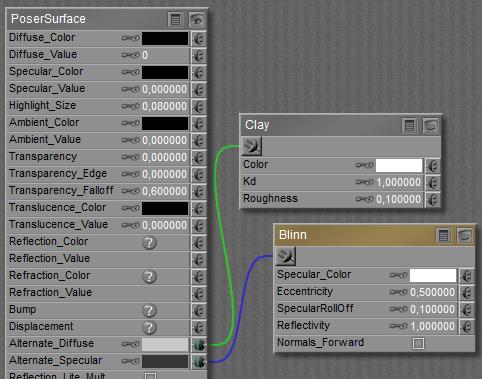 Since both slots are just neutral (*) entries to the PoserSurface spine, I’m free to plug the clay node into Alternate Specular, or to plug the Blinn node into Alternate Diffuse although the suggestion is to do otherwise for the sake of readability, understandability and maintainability of the surface definition. I can use the diffuse and/or specular nodes to bring the “good old” angular distributions back into the game, and I can use the “add” nodes to combine diffuse, specular and eventually also ambient, bump, reflection, refraction and other components to build my own equivalent of the PoserSurface spine, and then plug its result into Alternate Diffuse only. Some material-defining tools (e.g. Bagginsbills’ MatMagic, SnarlyGribblys’ EZMat ) work about that way. Transparency however can’t be dealt with that way, there is no substituting node for it either.
 Like the
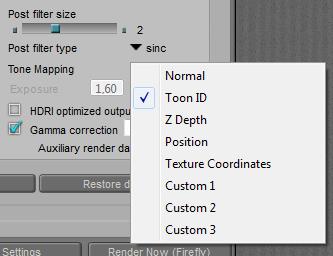
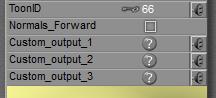
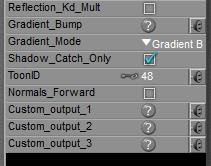 Each PoserSurface has a ToonID value assigned, and one can even make it varying over time (animated) as well as driven by a node construction, like a complex of