Nodes are the essential building blocks in the Advanced interface to the Poser Material Room. They are the graphical representation of mathematical function calls, that is: calculation procedures which turn parameters (inputs) to a result (output).
 Advanced
The various nodes from the 2D Textures group all serve the same purpose: offering an image or tiling pattern which is to be (UV-) mapped onto the object surface. Image_Map and Movie do so with external static or dynamic sources. The other options generate patterns on their own. Let’s have a closer look at those.
In all cases: for each portion of an object that has its own UV coordinates, both U and V vary from 0.0 to 1.0. U mainly in horizontal direction, V in vertical direction.
Wave2D
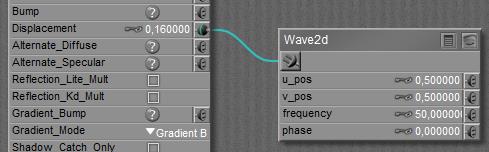
This node generates a circular sine wave pattern, which is ideal for wavy displacement maps.
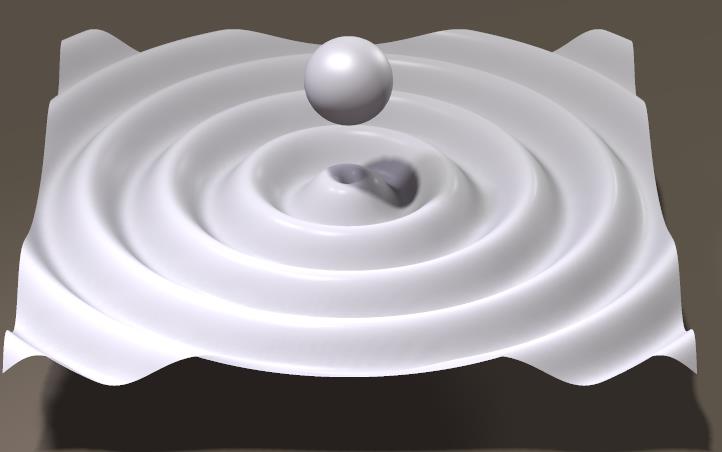
The U_pos, V_pos parameters determine the center of the pattern, Frequency determines the number of repetitions and by animating the Phase, the pattern starts rippling.
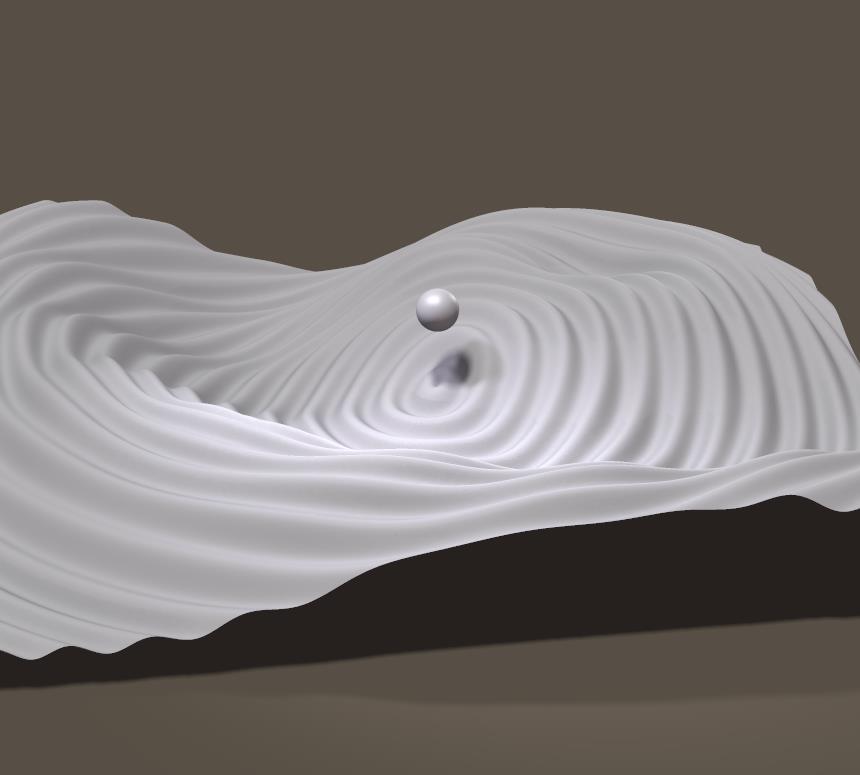
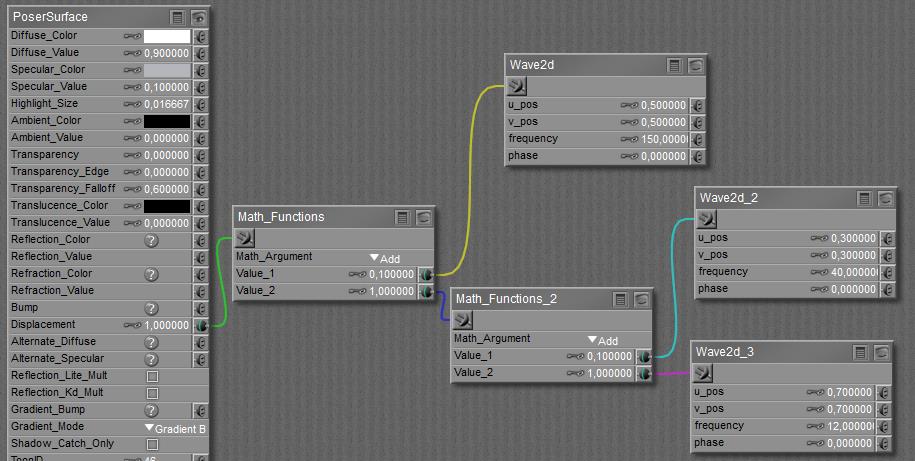
As a single pattern looks quite simplistic and cartoony, one can combine patterns with different frequencies (and origins, phases as well) to make more complex, realistic ones.
Made from
Brick
This node generates a brick & mortar texture, in the first place for use in the Diffuse slot, or in combination with its alternatives. But because brick and mortar behave different for specularity, and for bump/displacement, variants of the node are usually combined with some other components of the PoserSurface.
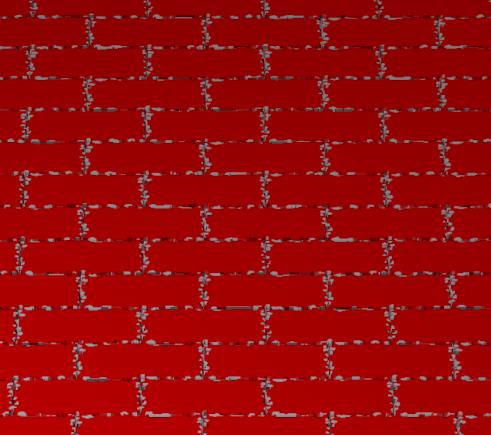

Brick_Width and Height, and Mortar_Width define the main aspects of the texture, while U_offset, V_offset define the placement of the texture on the object. Note that all of those are expected to vary within the 0..1 bound.
Turbulence makes the mortar-lines less straight and perfect, while Noise makes the mortar filling more irregular. As the manual states: Turbulence is low frequency, Noise is high frequency variation. In plain English: Turbulence affects the shape of the stones, Noise affects the structure of the mortar. I can choose between original and improved noise, the first one is meant for compatibility with older Poser versions.
Softness defines the brick-to-mortar distinction, the higher the value the more brick blends into the mortar.
Tip: believable brick textures do need serious variation in brick color and brightness. Using additional (non-brick) textures for Diffuse_Value, or plugged into to Brick_Color slot, can help a lot in this. Especially the Clouds node (from the 3D Textures collection) might be a nice one.
Tile
Although the Brick node can be used to make shiny tiles as well, all of those will be in a similar color, and all of them will be rectangular too. The Tile node makes a variation on this, by offering alternating colors, and roundish (ellipsoid) shapes as well.
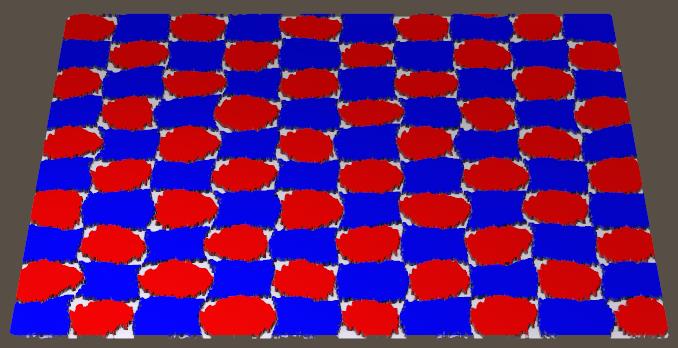
Made with
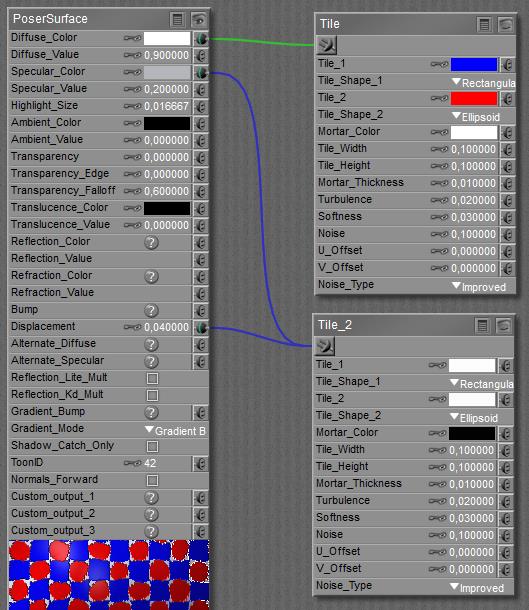
Parameters are similar to Brick: Tile_Width and Height, and Mortar_Width define the main aspects of the texture, while U_offset, V_offset define the placement of the texture on the object. Note that all of those are expected to vary within the 0..1 bound.
Turbulence affects the shape of the tiles, Noise affects the structure of the mortar. I can choose between original and improved noise, the first one is meant for compatibility with older Poser versions. Softness defines the brick-to-mortar distinction, the higher the value the more brick blends into the mortar.
Weave
Weaves are meant for cloth, but of course one can make nice garden fences with it too. It’s just a matter of scale (and color, and material details). This:
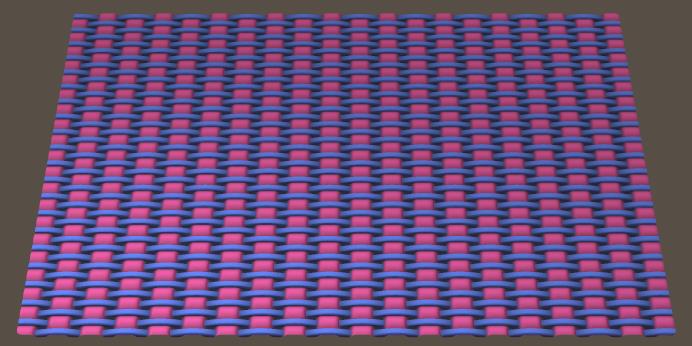
Is made with
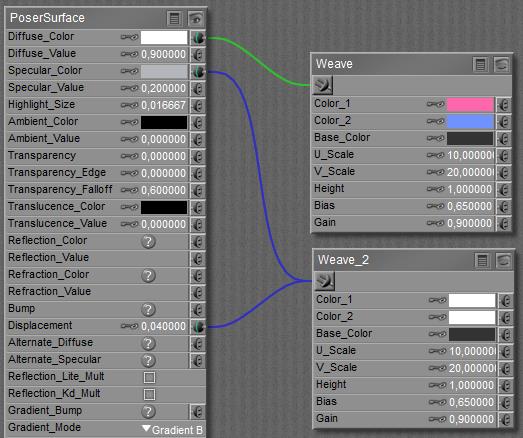
The colors speak for themselves, and the U_Scale and V_Scale determine the amount of threads on the surface (times two, as the object surface apparently has U and V from -1..1). So the plane shown above has 2x 10 (U-Scale) threads in Color-1, and 2x 20 (V-Scale) threads in Color-2 which then of course have half the thickness.
To my observation, the Height parameter has no effect at all. Larger Bias values create thicker and flatter threads, or: reduce the space between them. Larger Gain values sharpen the texture, higher values make more distinct threads, as for paper / wood strips while more fuzzy threads are fine for textile weaves. Bias and Gain vary from 0.0 to 1.0. Note: at other places Bias is defined as brightness of the underlying greyscales, and Gain is defined as its contrast, both as if applied by Photoshop or alike in a pre-processing stage.